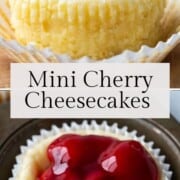
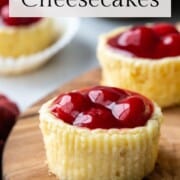
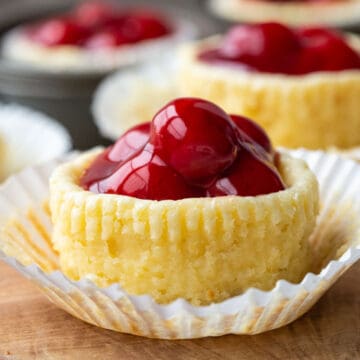
Mini Cherry Cheesecakes are a simple dessert that get rave reviews. A vanilla wafer for the crust keeps the preparation extra easy!
Hello, 1990s potlucks! That’s when I remember these from, but perhaps you remember them from another decade? (If so, tell me in the comments!)
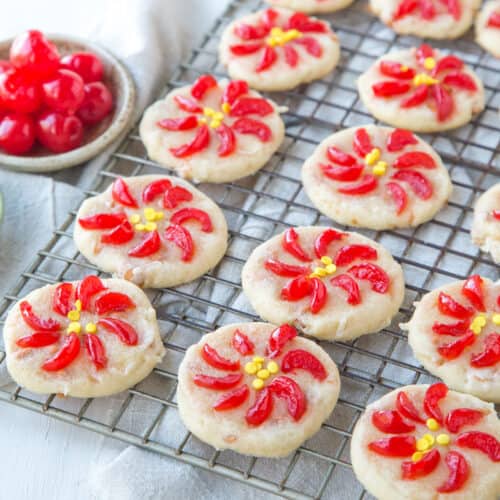
These easy Mini Cherry Cheesecakes have stuck around for decades for good reason—they are seriously easy and seriously GOOD!
The recipe uses two shortcut ingredients: Nilla wafers and canned cherry pie filling. I also use cherry pie filling for my Cherry Coffee Cake, Cherry Dump Cake, Punch Bowl Cake, Cherry Delight, Easy Chocolate Cherry Cake, and Cherry Salad—it’s such a great pantry staple for making sweet treats!
For these cheesecakes, the end result is a delightful combination of sweet and tart, creamy and fruity. And, there’s no water bath and no springform pan required here!
Jump to:
Ingredients
Check the recipe card below for a full list of ingredients, quantities, and instructions.
How to make mini cherry cheesecakes
Place a cupcake liner in a 12-cup muffin tin, and then drop a vanilla wafer in each cupcake liner. If you want extra crust, feel free to add two vanilla wafers instead.
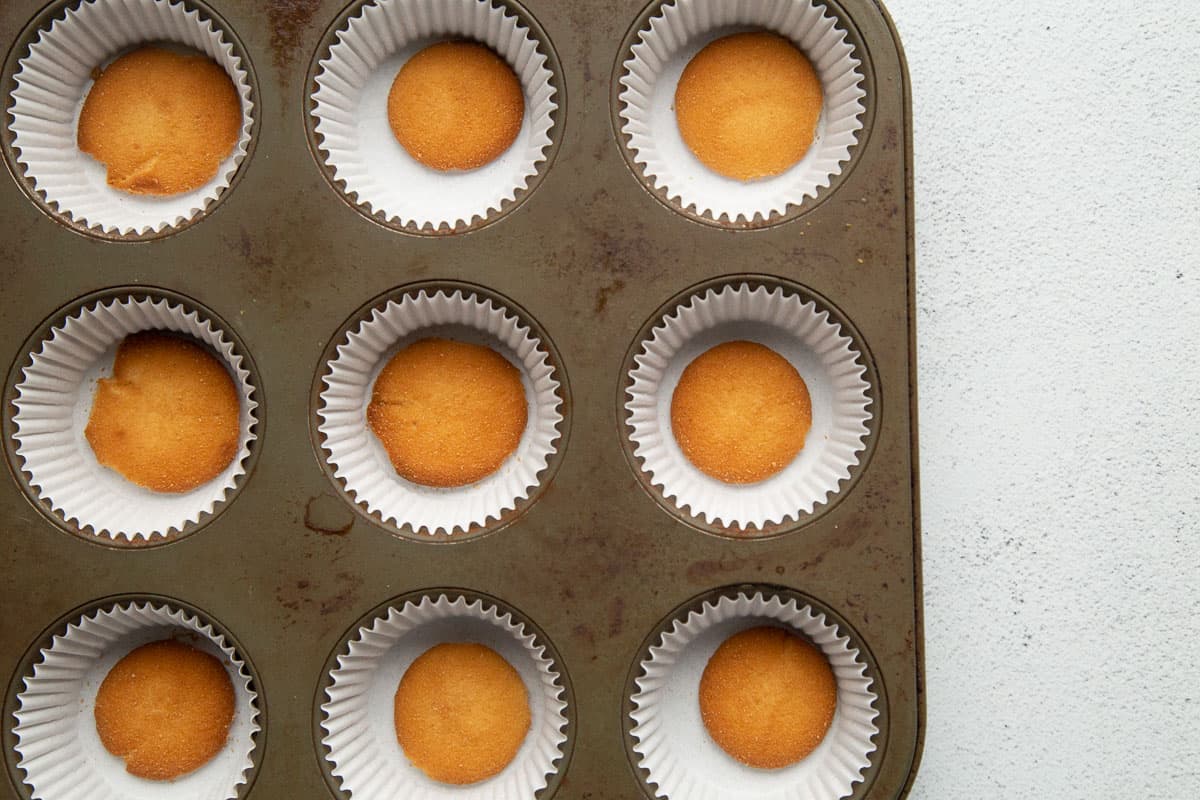
Tip: if you want to make this in a mini muffin tin, use mini vanilla wafers instead.
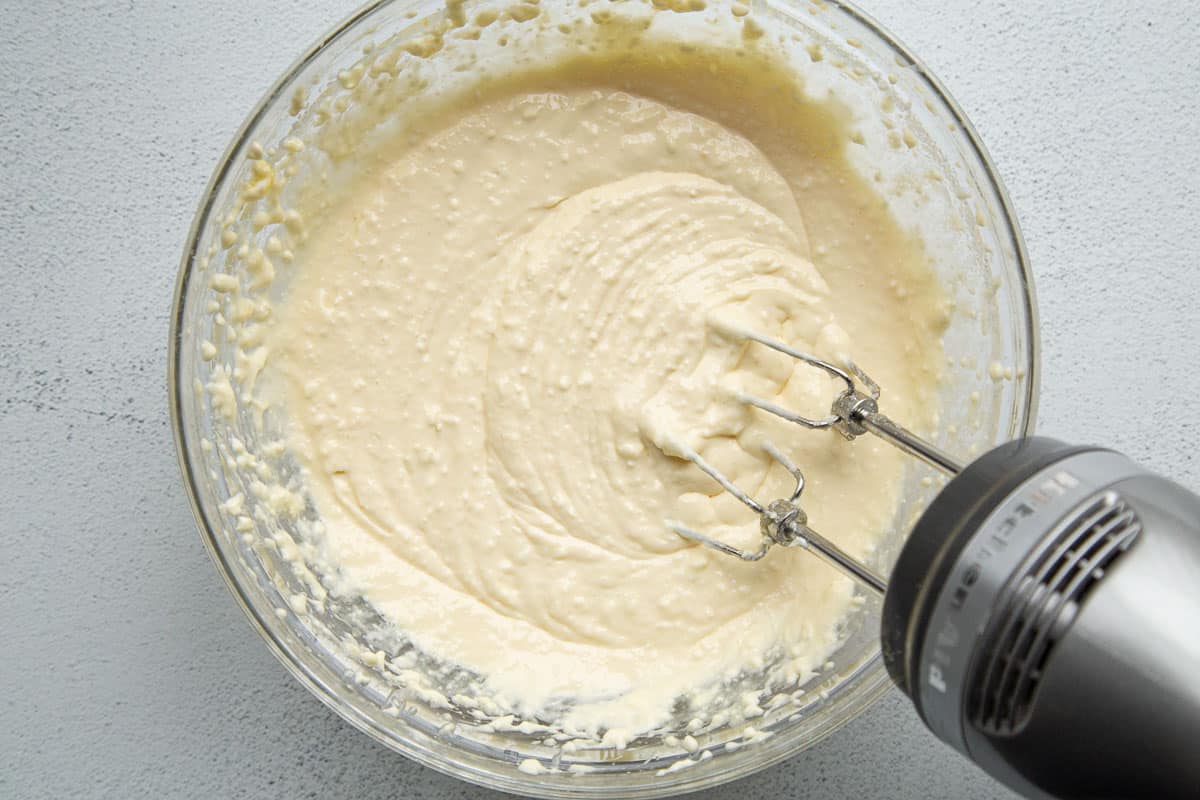
Then, place the softened cream cheese, eggs, sugar, and vanilla extract in a large bowl. Beat on medium speed until smooth.
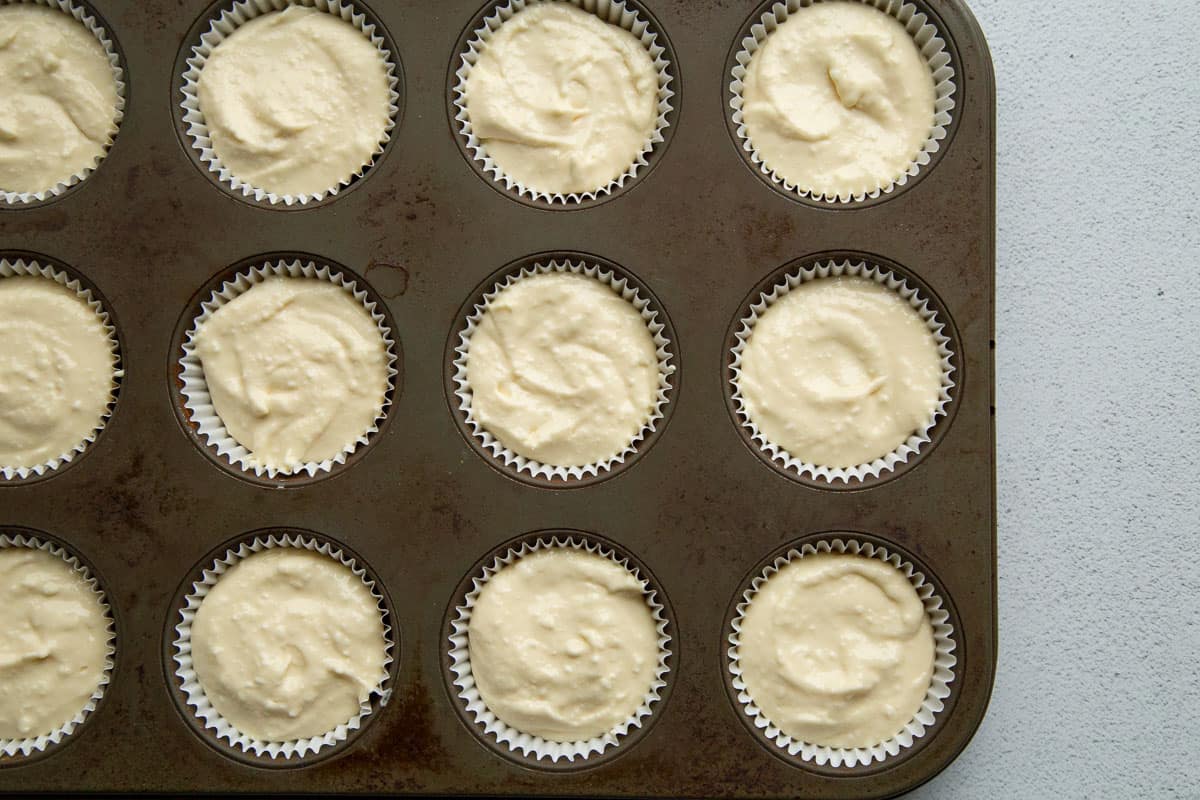
Then, spoon the cream cheese mixture over each vanilla wafer, filling each muffin cup three-quarters of the way up. You may have some extra cream cheese mixture. If you have another muffin tin, you may be able to make 2–4 more mini cheesecakes from this recipe.
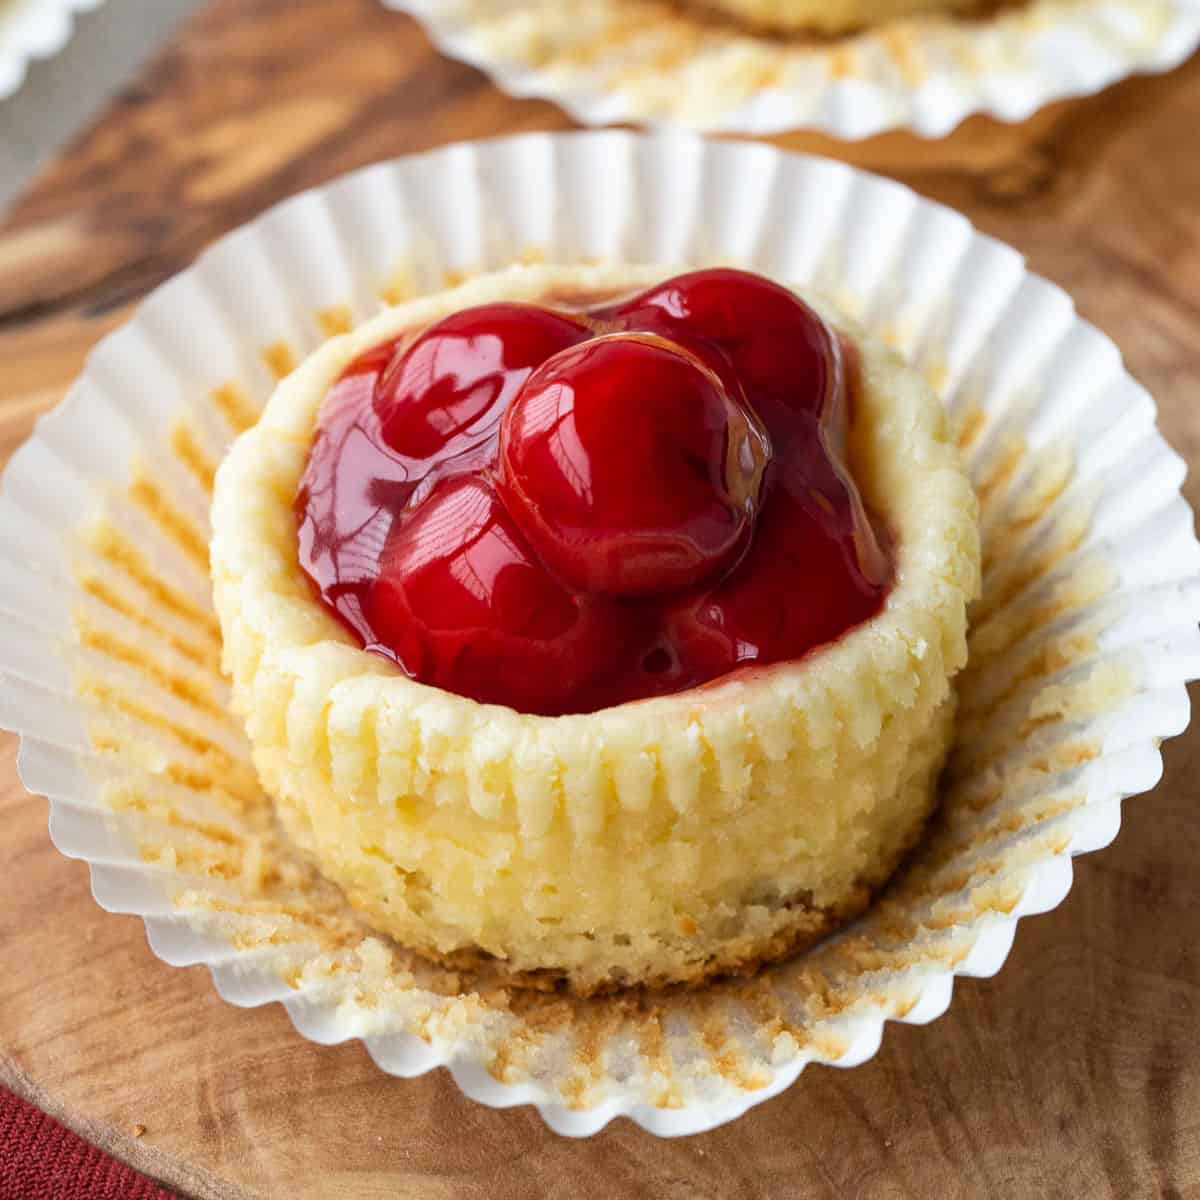
Bake the mini cheesecakes for 18–20 minutes, or until set. The cheesecakes will puff up in the oven and then deflate slightly as they cool. They may sink slightly in the center, and that’s ok—it’s where we’ll put the cherry pie filling!
Let the cheesecakes cool completely, then spoon canned or jarred cherry pie filling over the top. You may only need half of the 20-oz can. Here are 8 desserts made with cherry pie filling if you need some ideas to use the rest!
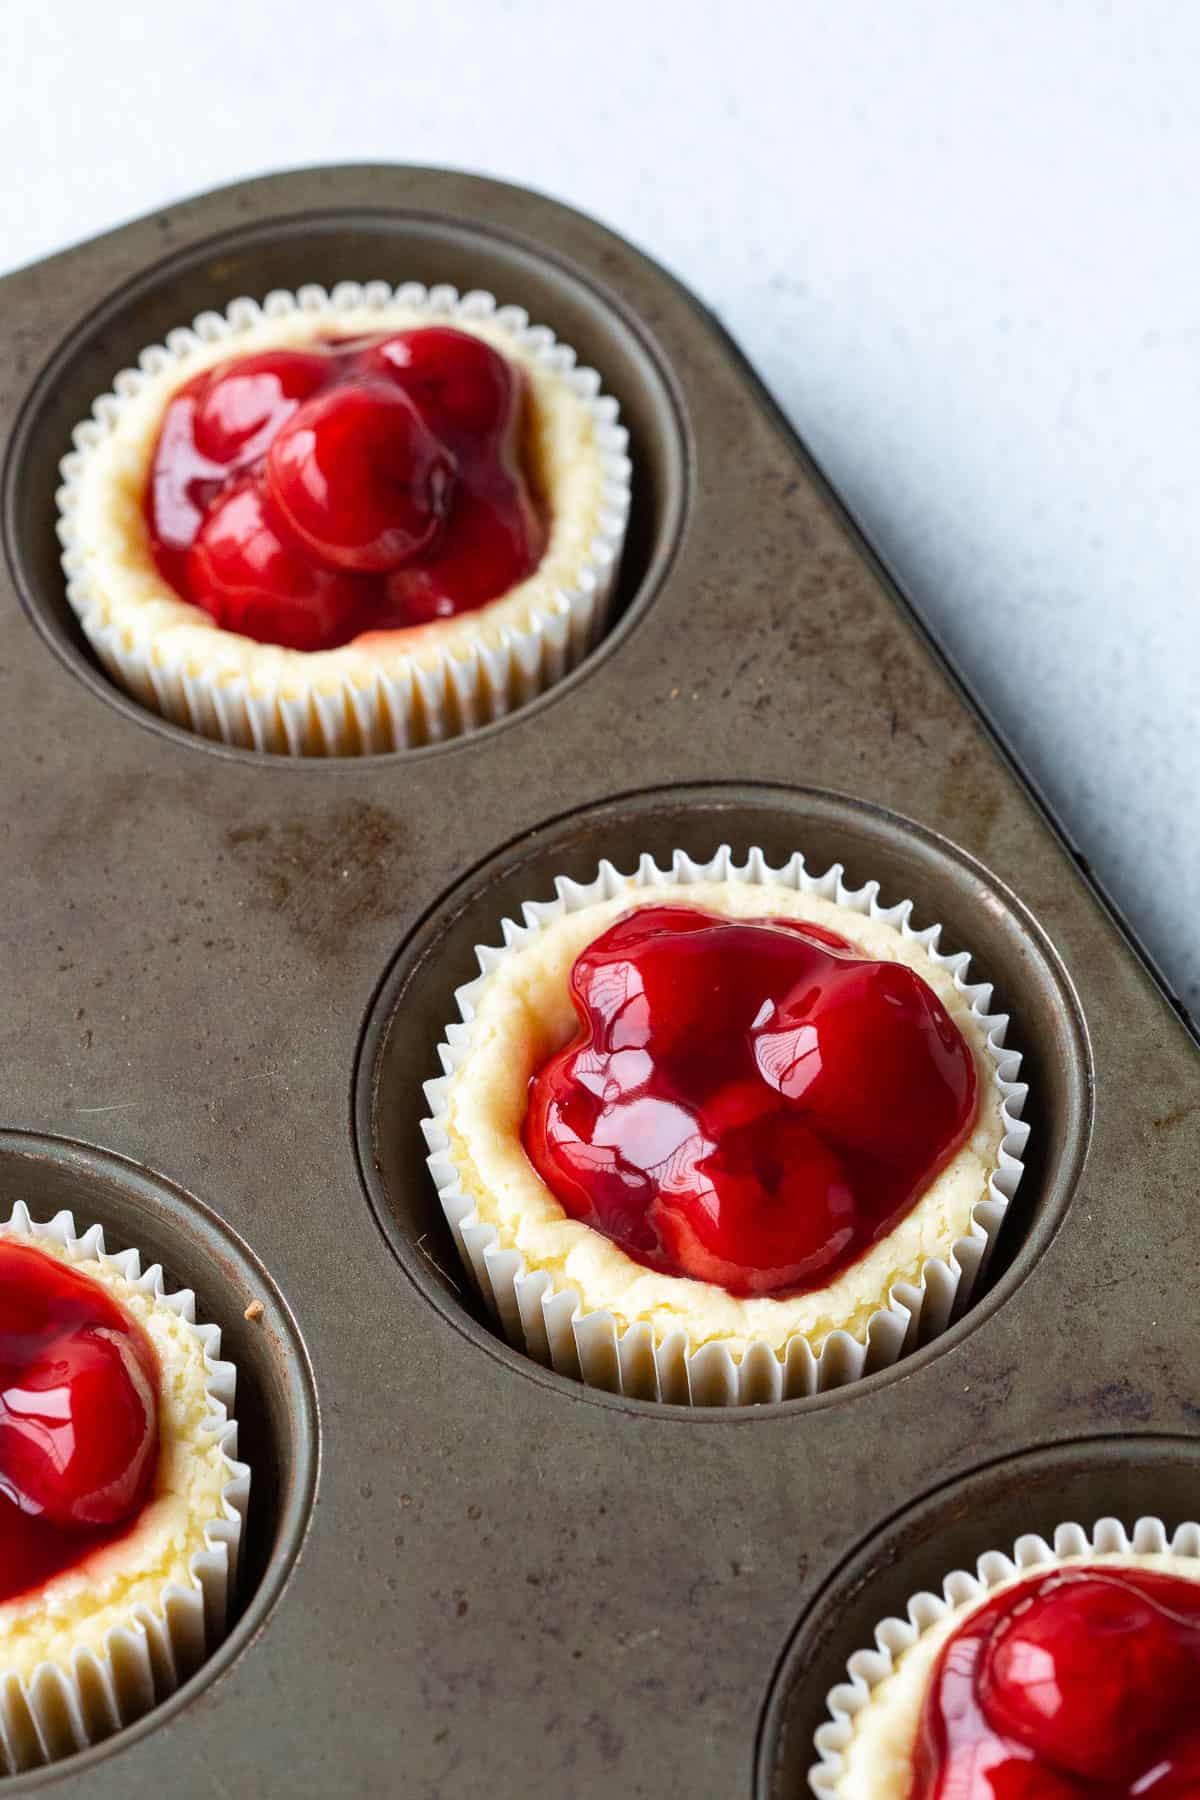
I like serving these with the cupcake liners still on (just to keep things easy!), but you can carefully remove them if you prefer.
Make ahead and Storage
These little cheesecakes are a great make-ahead dessert! Make the cheesecakes, but leave off the cherry pie filling. Cover with plastic wrap and refrigerate for up to 48 hours.
When you’re ready to serve them, spoon the cherry pie filling over the top, and serve. Any leftovers will keep in the refrigerator up to 5 days.
You can also freeze mini cherry cheesecakes with or without the cherry pie filling (they will hold up slightly better without the cherry pie filling). Cover tightly and refrigerate for up to one month. Defrost in the refrigerator for 24 hours.
Variations
- Use your favorite pie filling in place of the cherry pie filling (try blueberry, raspberry, or strawberry!)
- Make these miniature by using mini Nilla wafers and making them in a mini muffin tin (it’ll make at least 36 mini cheesecakes)
- Want more crust? Use two Nilla wafers instead of one.
- Use a homemade graham cracker crust in place of the vanilla wafers
- Use an Oreo in place of the Nilla wafer for a chocolate crust!

More Treats with cherry pie filling
- Old Fashioned Cherry Salad
- Cherry Coffee Cake
- Cherry Dump Cake
- Easy Chocolate Cherry Cake
- Punch Bowl Cake
- Cherry Delight
📖 Recipe
Mini Cherry Cheesecakes
Ingredients
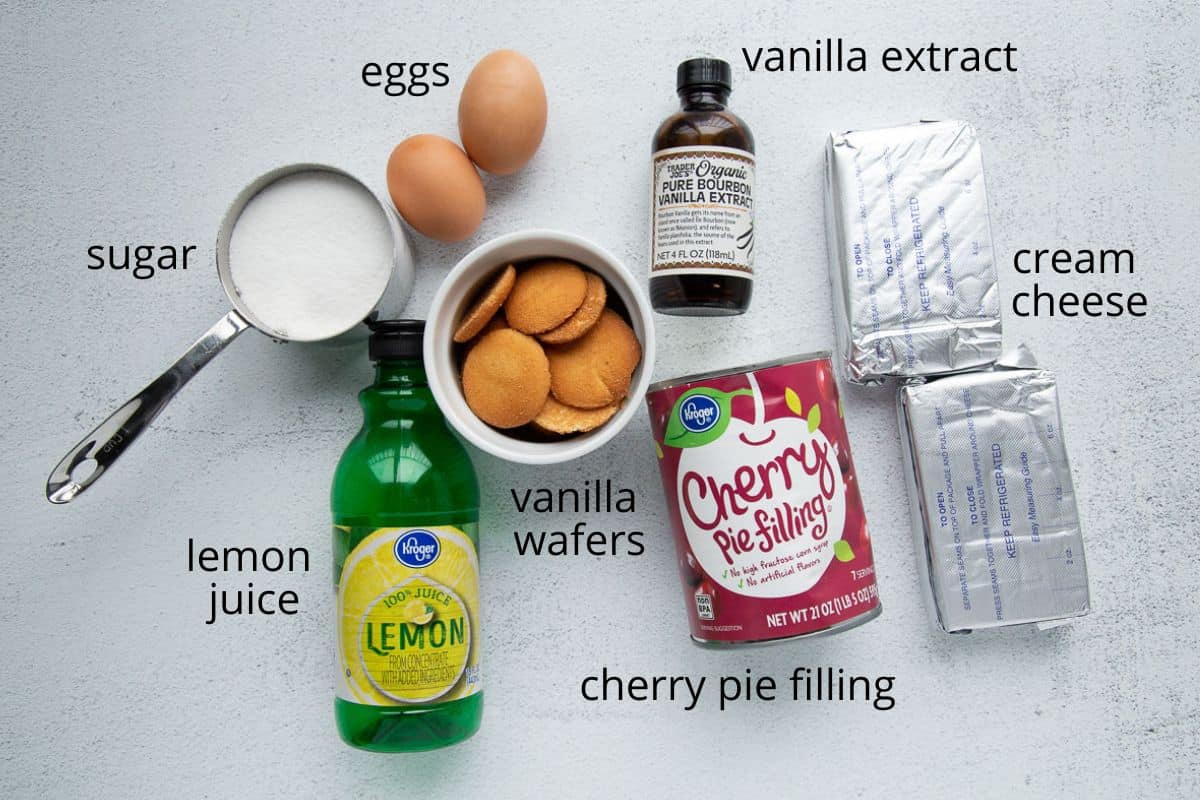
- 12 vanilla wafers
- 2 (8 oz) packages cream cheese, at room temperature
- ¾ cup sugar
- 2 eggs, at room temperature
- 1 tablespoon lemon juice
- 1 teaspoon vanilla
- 1 (20 oz) can cherry pie filling (you will only need half)
Want to save this recipe?
Instructions
- Preheat oven to 350°F.
- Line a 12-cup muffin tin with paper cupcake liners. Place one vanilla wafer into the bottom of each liner.
- In a large bowl, place the cream cheese, sugar, eggs, lemon juice, and vanilla. Beat just until combined (batter may have a few small lumps—that's ok!).
- Divide the mixture evenly between the muffin cups, filling each muffin cup about ¾ of the way full. Bake for 18–20 minutes, or until the center only moves slightly when you jiggle the pan.
- Remove from the oven and let cool completely. Once cool, spoon the cherry pie filling over the top of each mini cheesecake. Refrigerate until chilled, and serve.

Comments
No Comments