Overnight Yeast Waffles
Overnight Yeast Waffles are a brunch game-changer! They’re crisp on the outside, tender on the inside, and have a fantastic flavor that makes them next-level delicious.
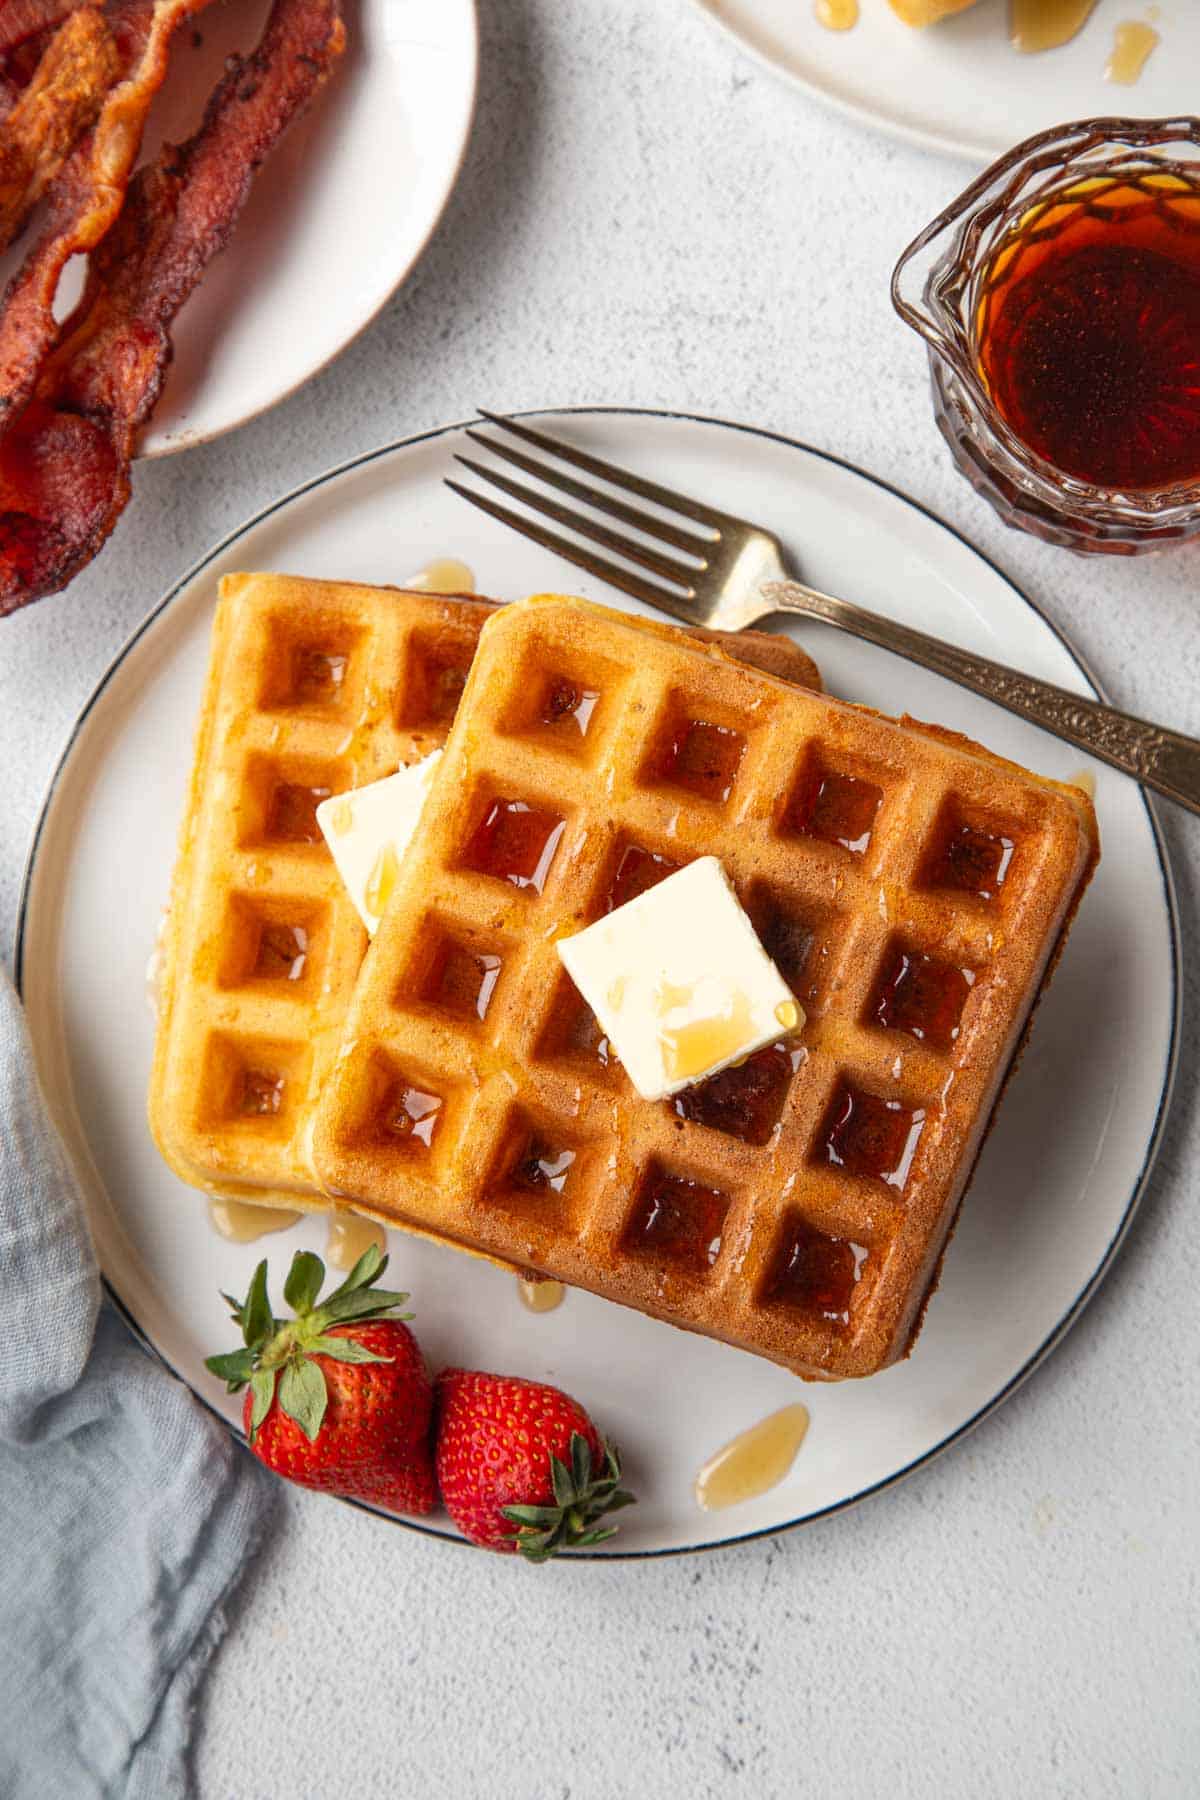
These are, hands-down, the best waffles I’ve ever tasted.
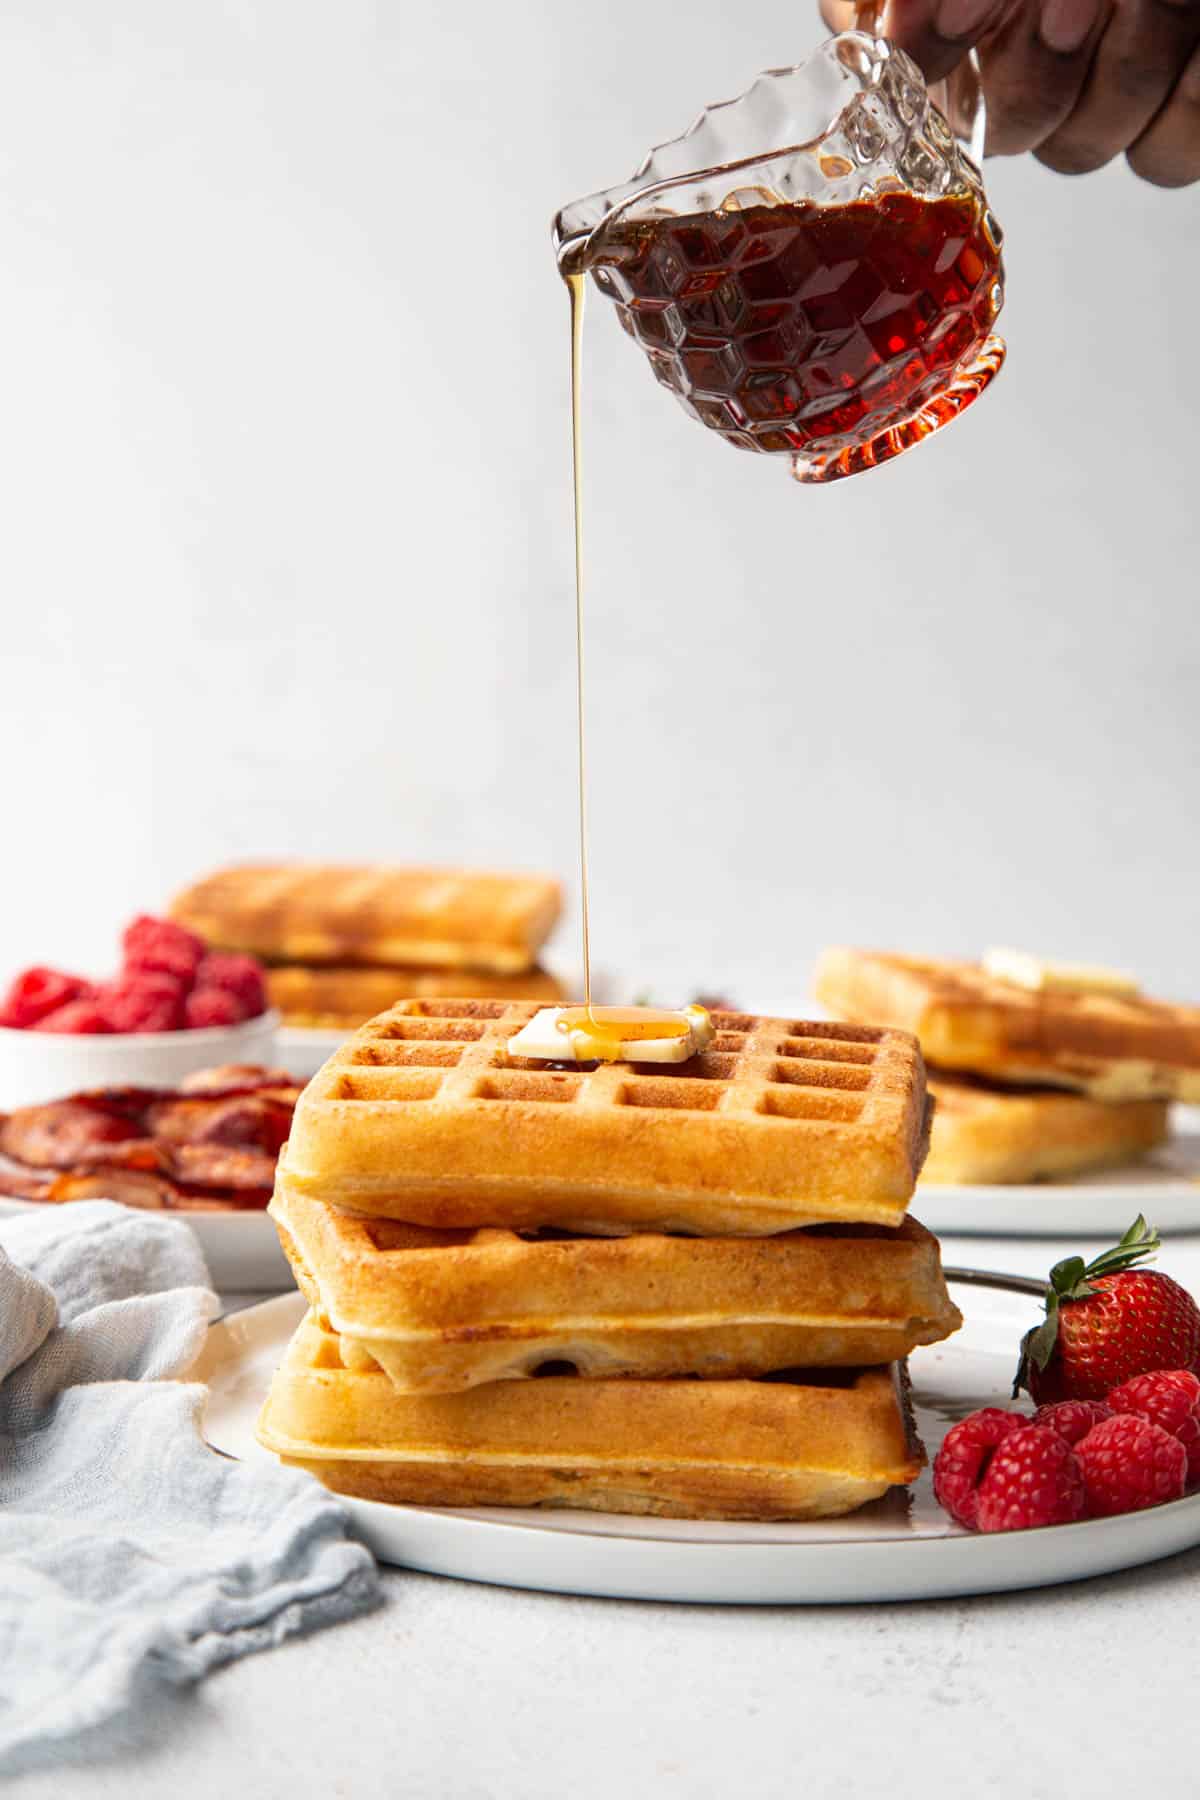
Overnight Yeast Waffles aren’t an ordinary waffle. Sure, they’re crisp on the outside, and soft on the inside (as waffles should be). The texture really is perfect.
But the thing that sets these waffles apart is the FLAVOR!
Instead of a dull flavor that gets masked by maple syrup, they’re almost sourdough-like. The gentle tanginess pairs perfectly with a touch of syrup, and they’re all-around more interesting than a standard waffle.
And, since you’ve made them the night before (while you’re at it, throw together this Overnight Egg & Sausage Bake, too), the work is very minimal in the morning, when everyone is hungry for breakfast.
Try them for yourself and report back—I’m positive that you will be impressed!
This post contains affiliate links. Affiliate links support Gift of Hospitality at no additional cost to you. I receive a commission if you choose to make a purchase through these link.
Jump to:
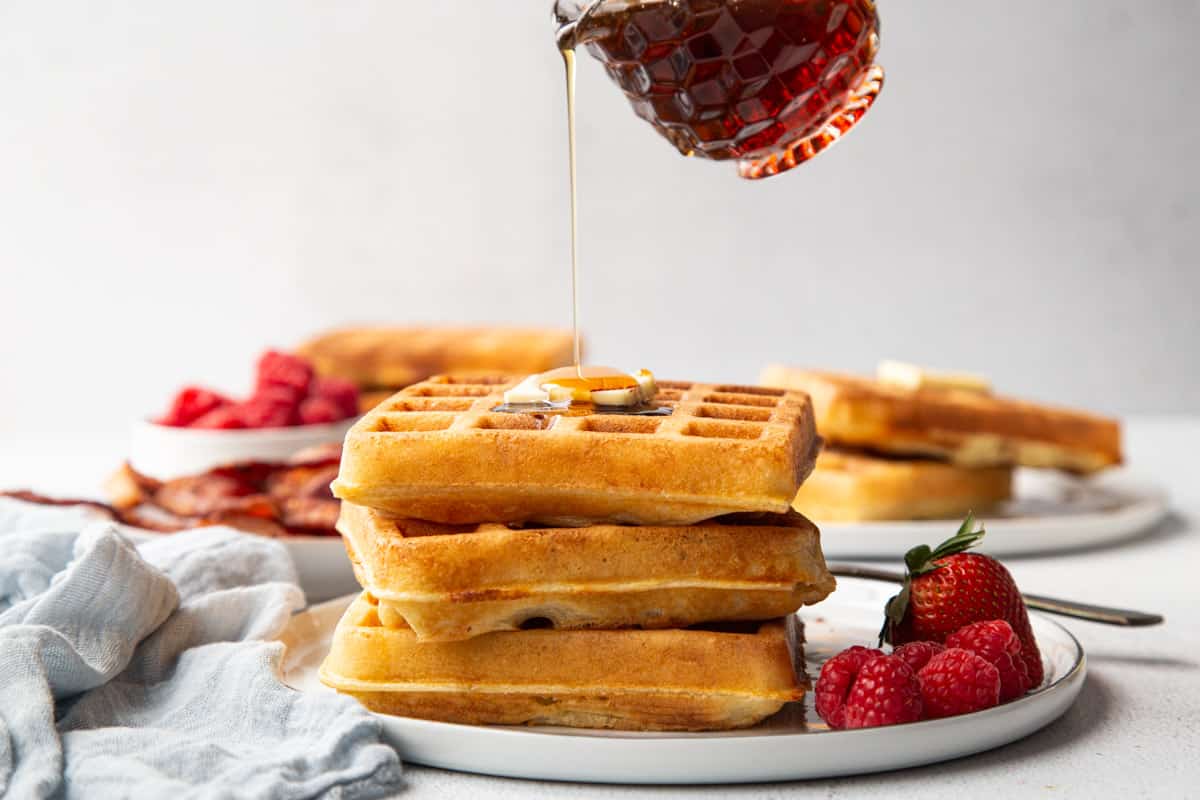
Why are these the best overnight waffles with yeast?
- This recipe has been around for generations—it’s adapted from the Fannie Farmer Cookbook. The one change I made is to omit the water from the original recipe (it called for ½ cup). In my numerous testings, the additional liquid “waters” down the sourdough-esque flavor.
- Since the recipe has less liquid, it makes a thicker batter. This is perfect for modern-day Belgian-style waffle irons (older models often made thinner waffles). The batter is thick enough to reach the top of the waffle iron as it cooks, so the waffle gets crispy on both the top AND the bottom.
- The texture gets an A+. They brown nicely thanks to the butter, so they get perfectly crisp. And they’re still tender on the inside.
- The FLAVOR! I keep mentioning this but it bears repeating—these are by far the best tasting waffles. The batter sits out overnight, and whatever happens with the milk and flour and butter is just magical. (Yes, these are fine to eat after the batter sits out all night. Fully cook them, of course.)
Ingredients
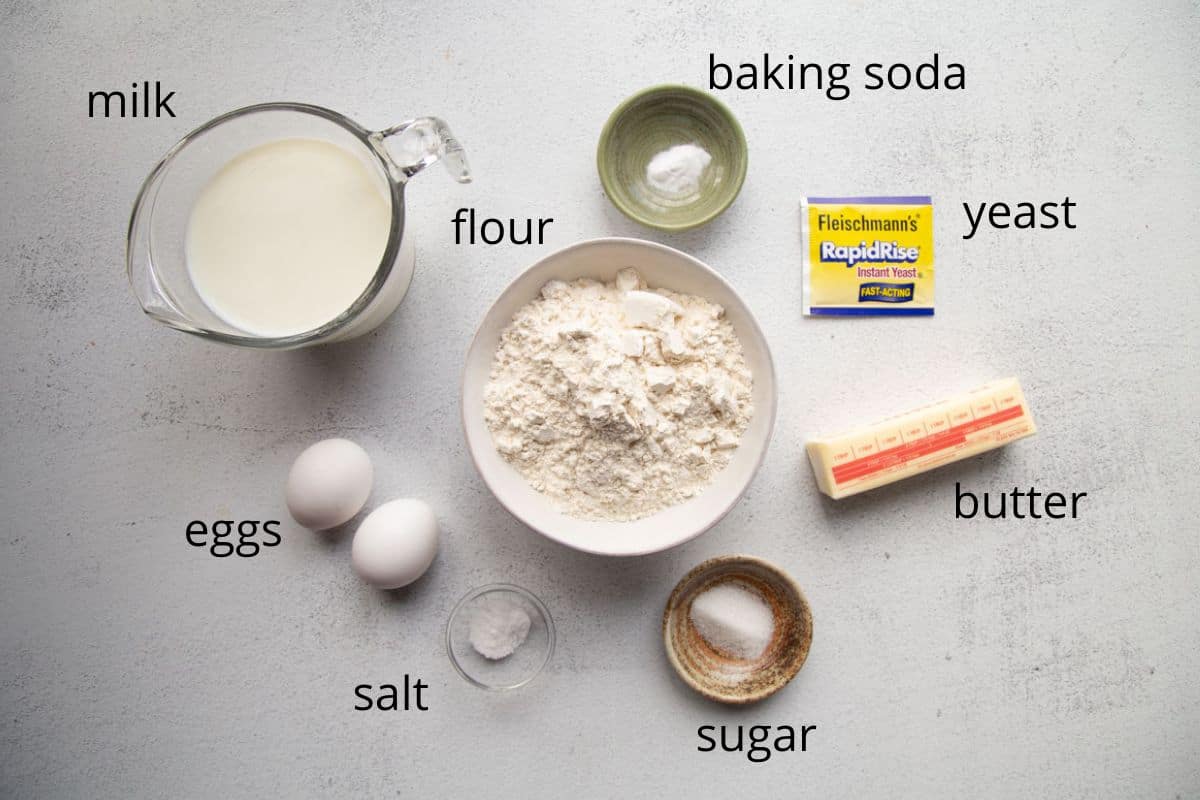
Check the recipe card below for a full list of ingredients and instructions!
- Yeast is the key ingredient here—it creates an amazing lift to these waffles.
- I use either 2% or whole milk. Skim would be fine, too. I’ve made these with almond milk, and they didn’t get as crisp or as browned. So it works, but the texture is impacted.
- A stick of butter makes for a really excellent crispiness! Use unsalted here, or dial back the salt if you use the salted variety.
- The eggs and baking soda get added in the morning, right before you pour the batter into the waffle iron. They both add a little more “lift” to get tall and crispy waffles.
How to make overnight waffles with yeast
Warm 2 cups of milk in the microwave until warm, about 1 minute. Place the milk in a very large bowl (the largest one in your kitchen—this batter will RISE!), and sprinkle the yeast on top.
Then, whisk in the melted butter, flour, sugar, and salt.
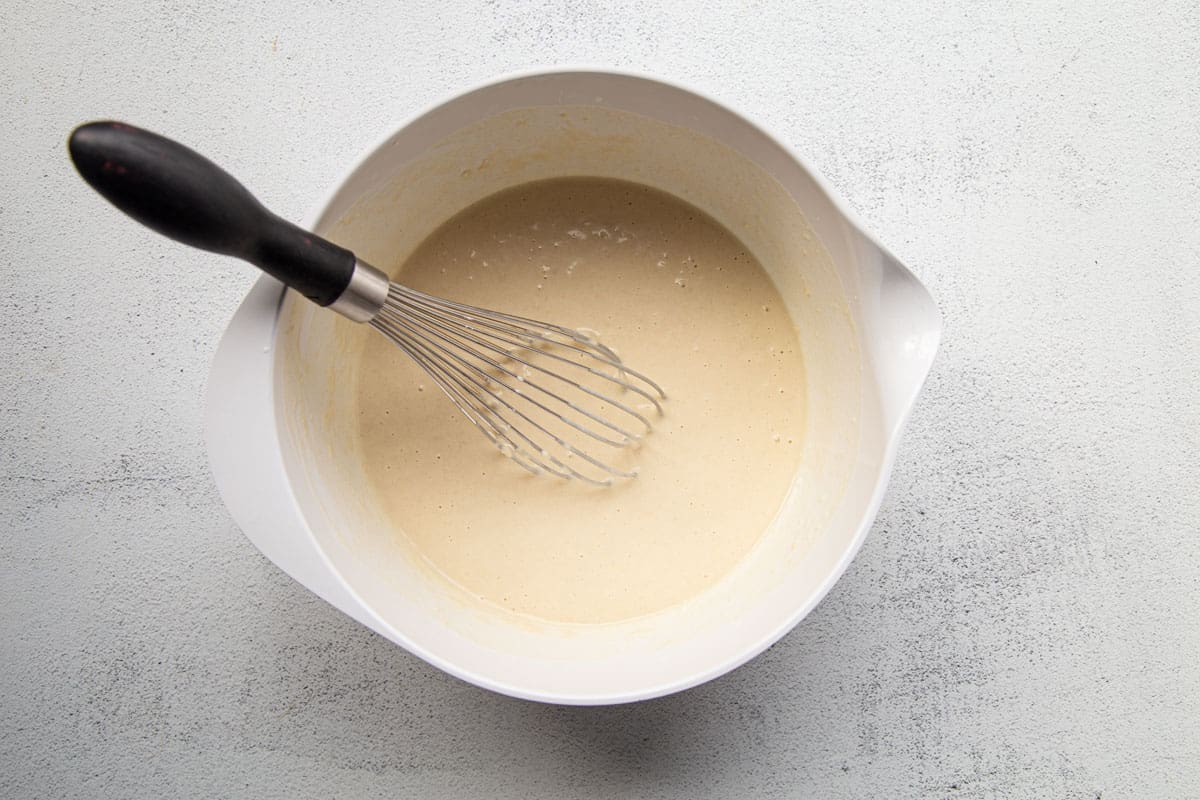
Cover the bowl and let sit for at least 8 hours, or overnight.
The waffle batter will rise and get bubbly as it sits! Again, make sure to use a large bowl so it doesn’t overflow.
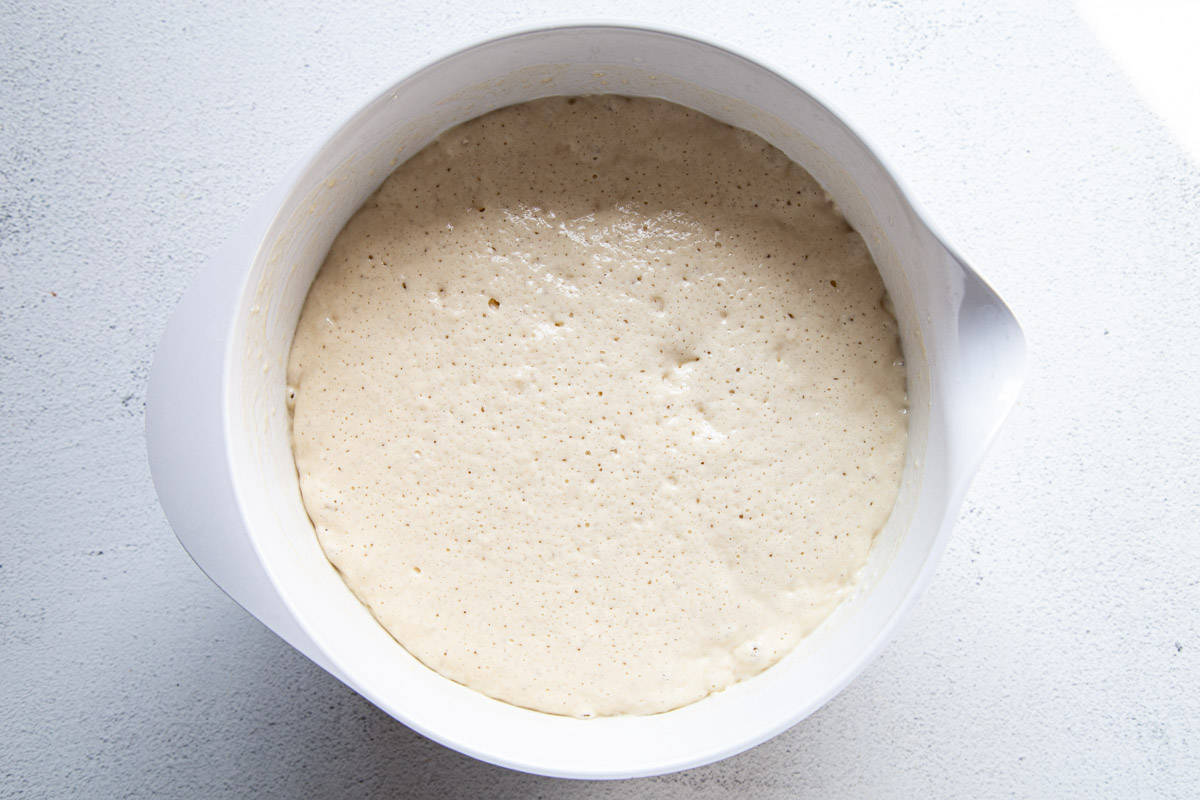
When you’re ready to cook the waffles, whisk in the eggs and baking soda.
Spoon the batter into a waffle iron (this is the one I use).
Waffle irons all call for a different amount of batter, so use the instructions that came with your waffle iron for both the amount of batter and cooking time.
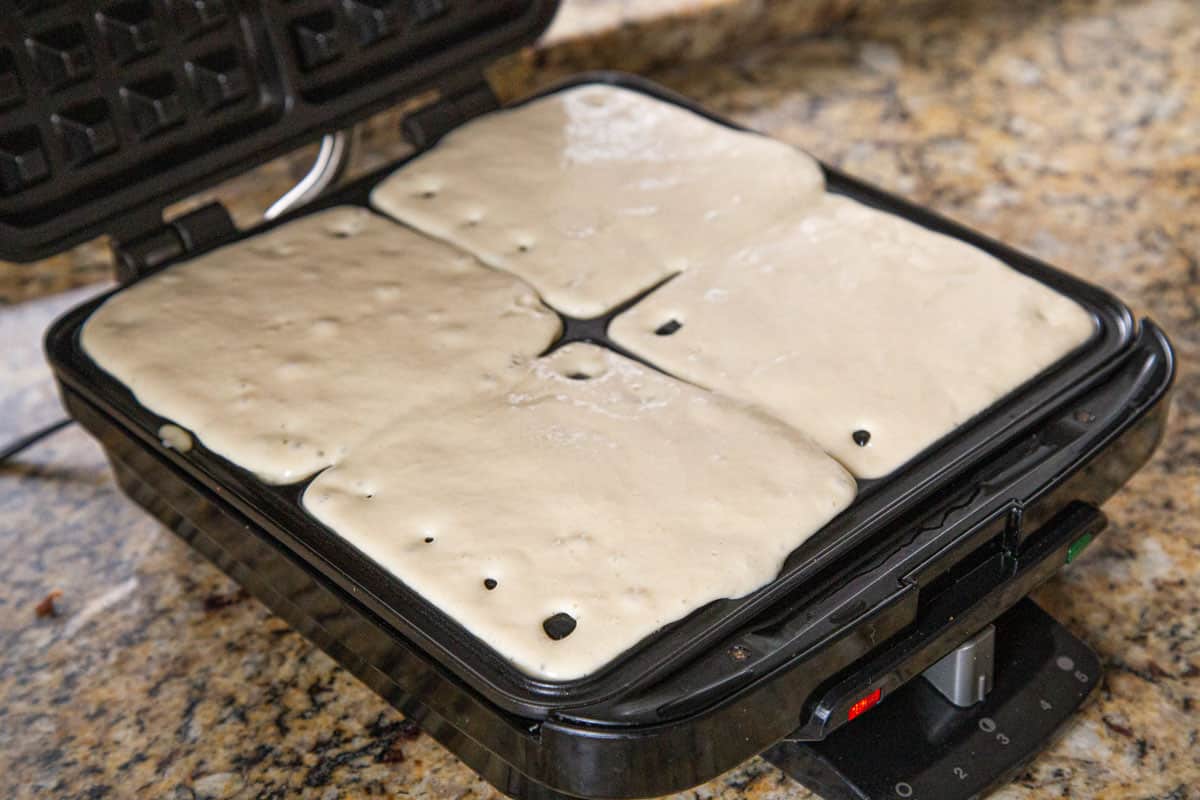
Close the waffle iron and cook until golden brown and crispy.
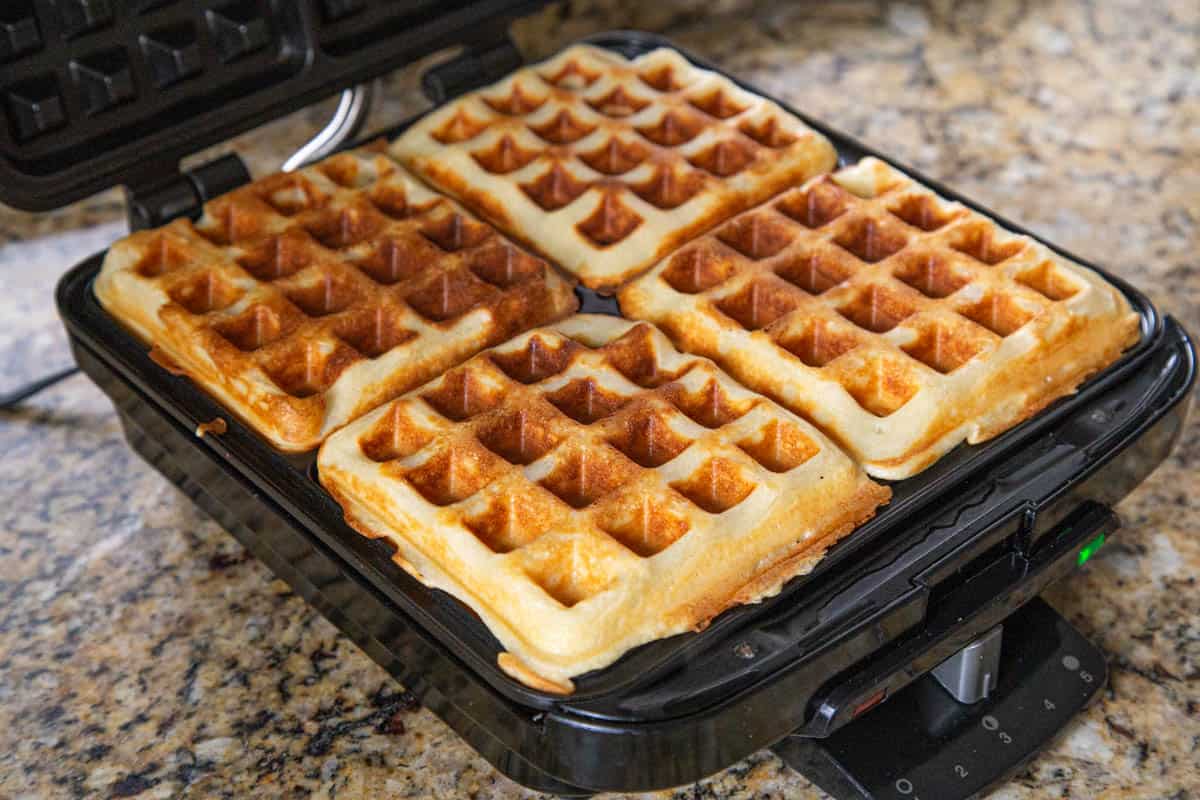
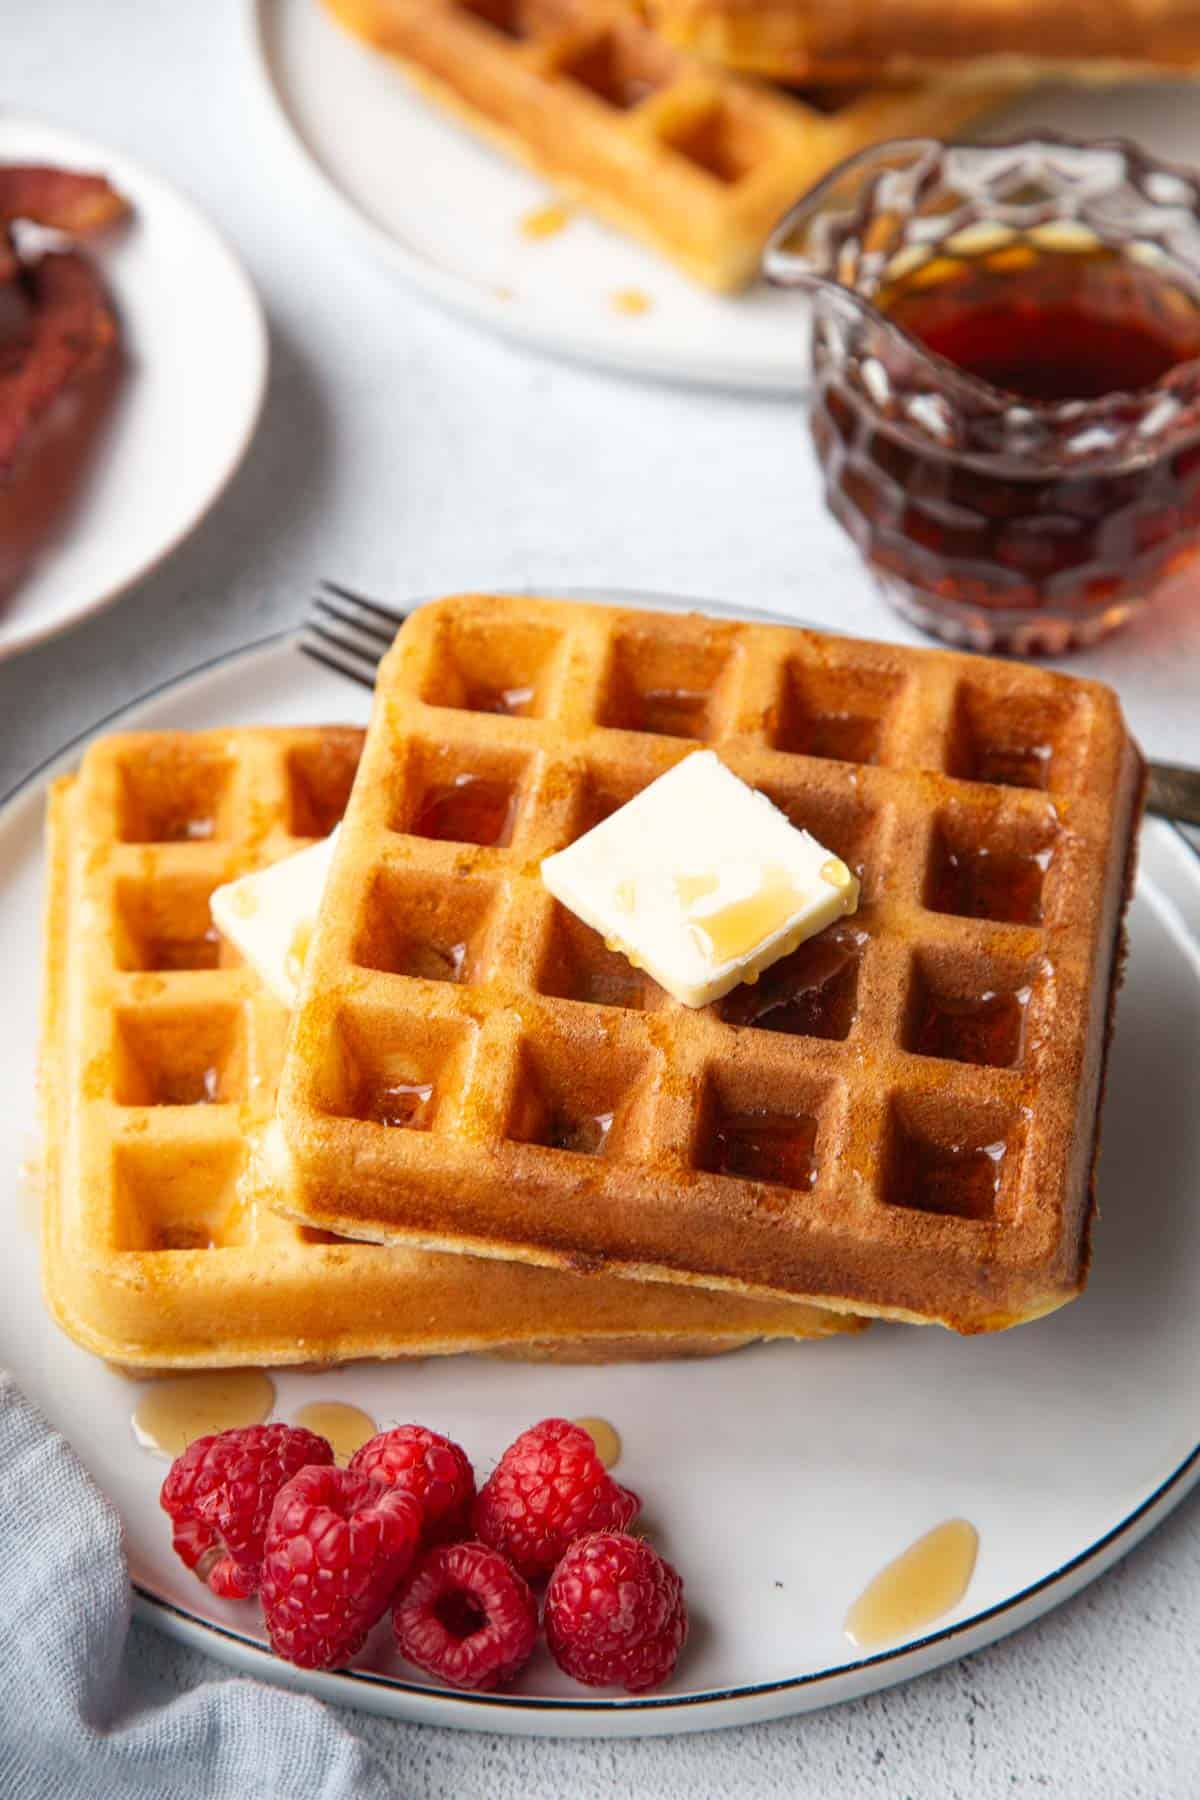
Overnight waffle perfection!! Serve right away with maple syrup and butter.
Make ahead instructions
These waffles are best enjoyed right after being removed from the waffle iron.
If you’re making a large batch, keep them in a 200°F oven until you’re ready to serve.
Storage and reheating
Overnight Waffles will keep for up to one week in the refrigerator. To reheat, place them in a toaster on the lowest setting until warm. (I do this all the time for my kids—they’re nearly as good as fresh!)
You can also freeze any leftovers. Place them in a resealable freezer bag, and freeze for up to 3 months. Defrost at room temperature or in the microwave, then reheat in the toaster.
Mix-in ideas for waffles
Try adding one or more of these to the batter before putting them in the waffle iron.
- Lemon zest
- Orange zest
- Mini chocolate chips
- Almond extract
- Fresh strawberries (finely chopped)
- Fresh blueberries
- Cooked and crumbled bacon
- Chopped pecans
And of course, a little whipped cream on top never hurt anything!
More vintage brunch recipes to love
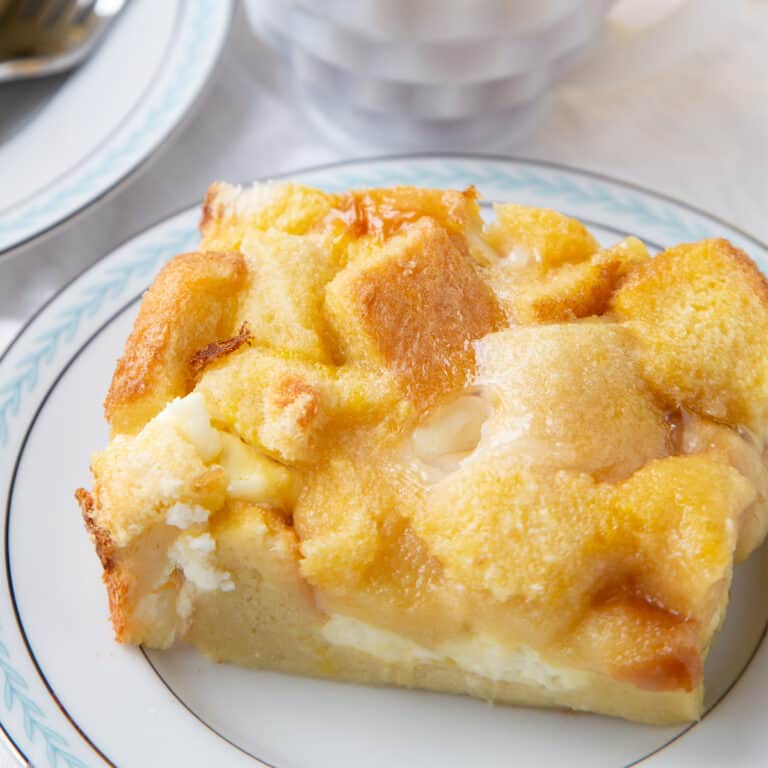
- Overnight French Toast Casserole (a reader favorite!)
- Hash Brown Casserole with Corn Flakes
- Homemade Breakfast Sausage
- Grandma’s Date Nut Bread
- Cherry Coffee Cake (a family favorite at our house)
Have you tried this recipe? Please leave a ⭐️⭐️⭐️⭐️⭐️ rating and/or comment below!
📖 Recipe
Overnight Yeast Waffles
Ingredients
- 2 cups milk
- 1 (0.25 oz) package dry yeast
- ½ cup (1 stick) melted unsalted butter (see Notes if using salted butter)
- 2 cups flour
- 1 teaspoon sugar
- 1 teaspoon salt
- 2 eggs
- ¼ teaspoon baking soda
Instructions
- Warm the milk to 105°F–110°F. (This was about a minute in the microwave for me.)
- Pour the milk into a LARGE mixing bowl. Sprinkle the yeast on top. Let sit for 15 minutes.
- Whisk in the melted butter.
- Then, whisk in the flour, sugar, and salt.
- Cover and let sit overnight, or at least 8 hours.
- Preheat a waffle iron.
- Whisk the eggs and baking soda into the waffle batter.
- Pour the batter into the waffle iron, and let cook until golden brown. This makes about eight 5-inch square waffles.


Best Waffles we have ever eaten! This recipe takes them to a new level of flavor and they have just the right crispness on the outside and tender inside. I will definitely make them again!
Thank you so much for your 5-star review, Debbie! So happy to hear that you enjoyed them.