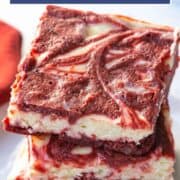
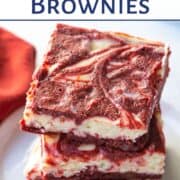
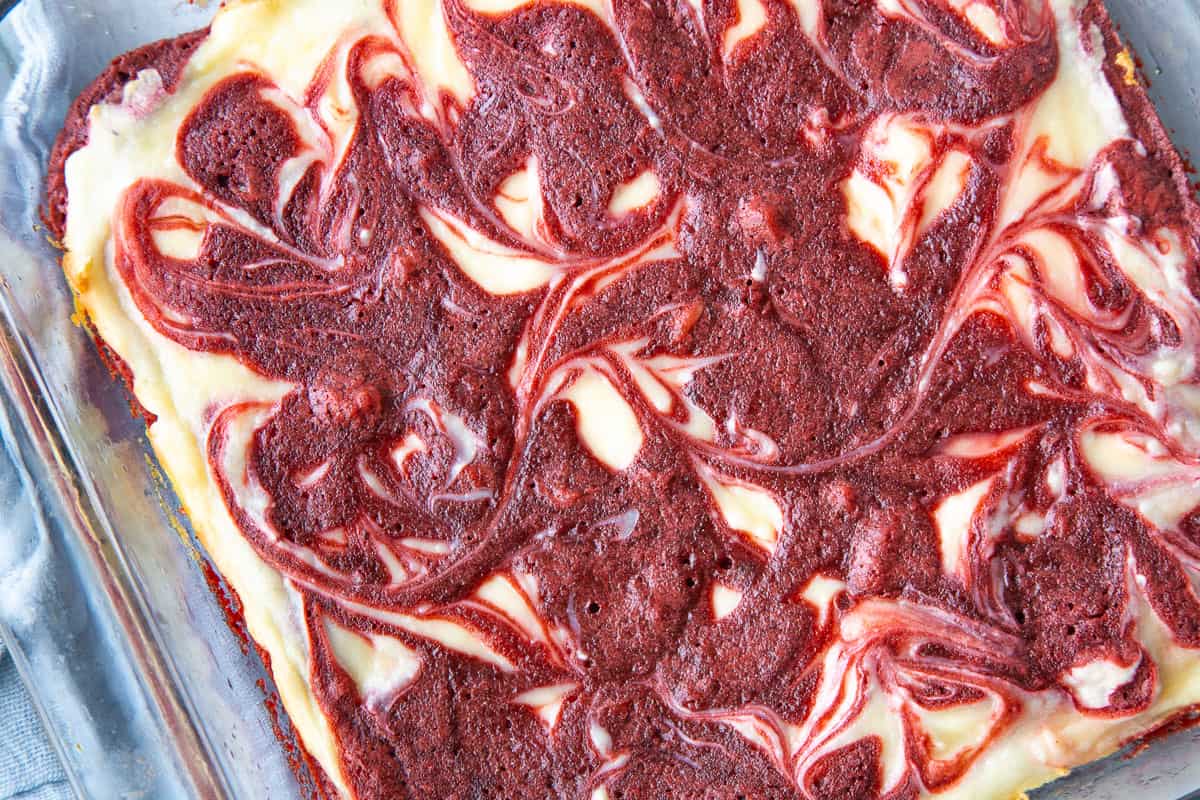
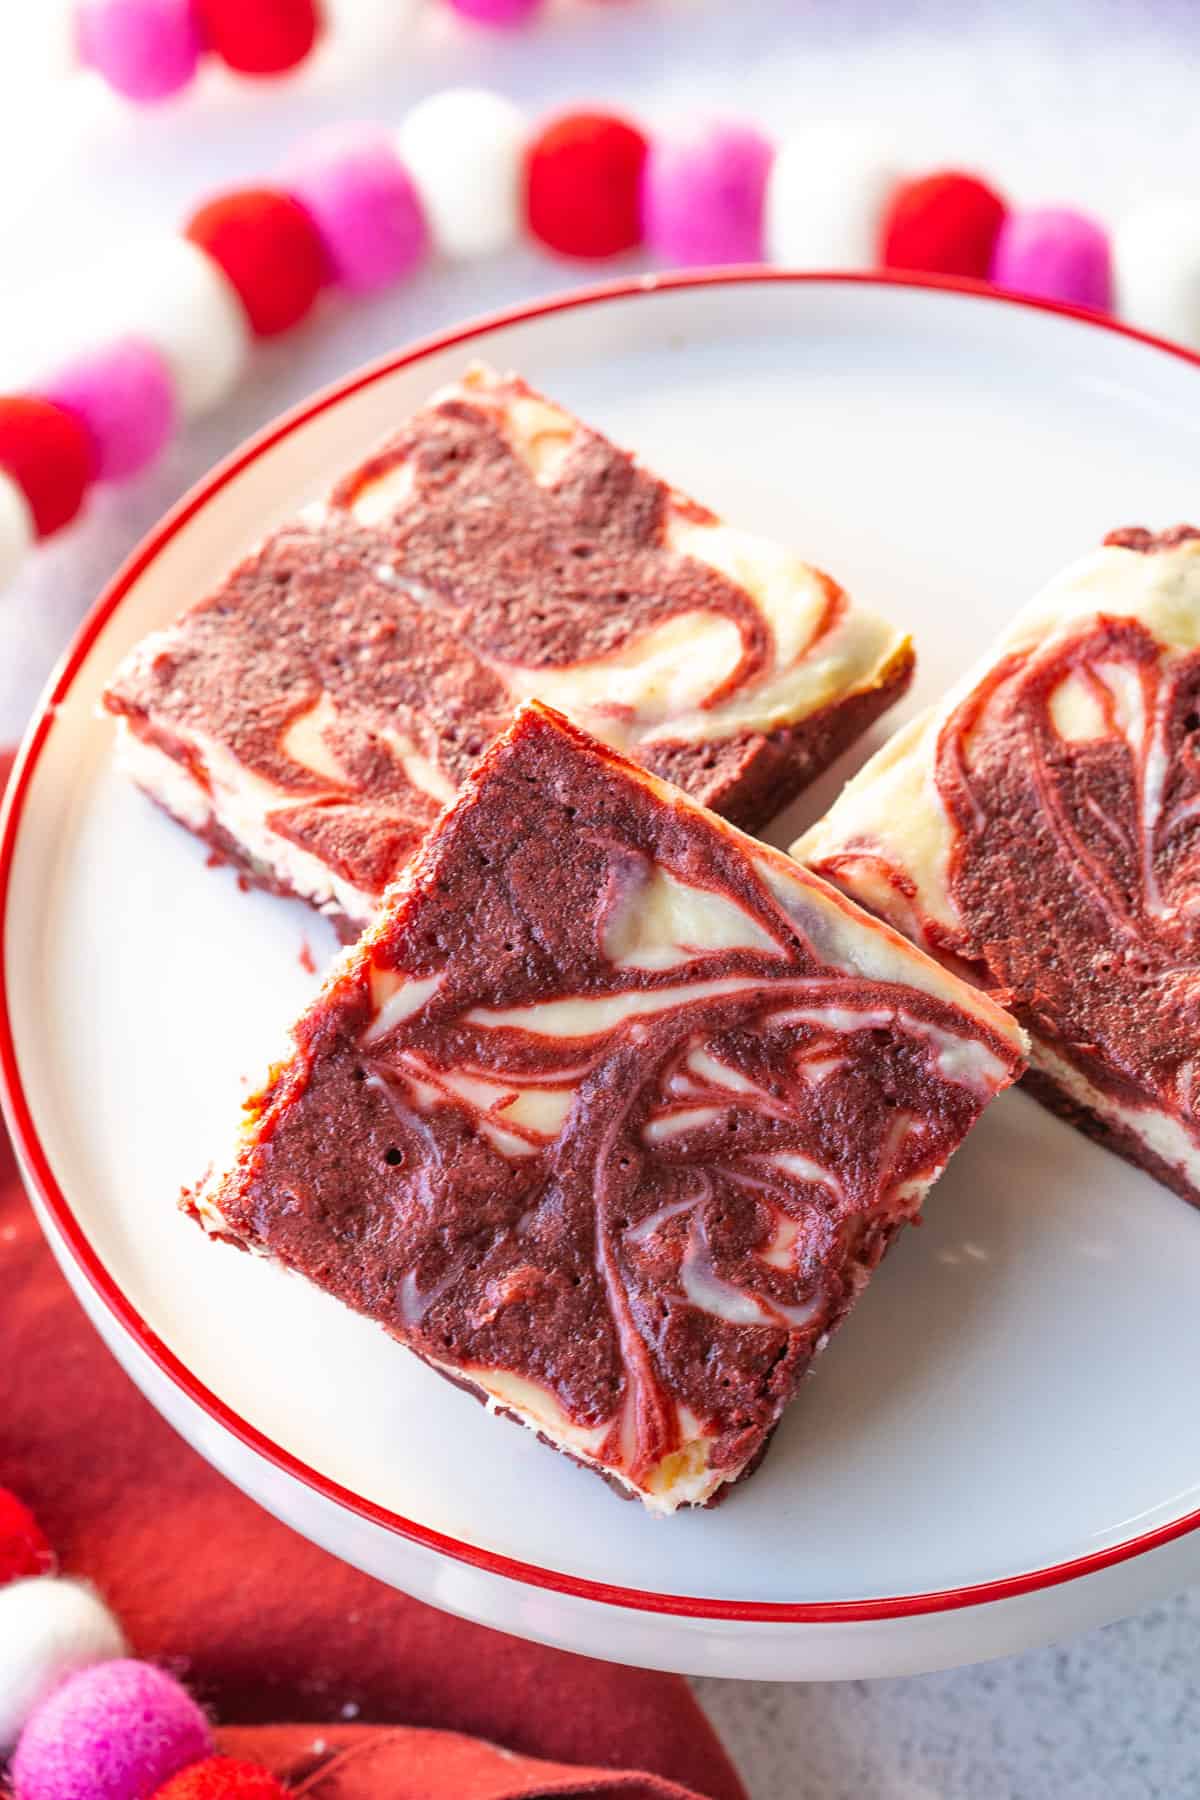
These Red Velvet Brownies have a rich chocolate base, walnuts, and a cream cheese swirl. They are a decadent dessert that’s perfect for any occasion!
If you like red velvet cake, you have to try these Red Velvet Brownies! They have all of the elements of a red velvet cake, made into a rich chocolate brownie.
This recipe comes from a 1990s church cookbook. I was initially intrigued by the idea, and when I made them—WOW was I impressed!
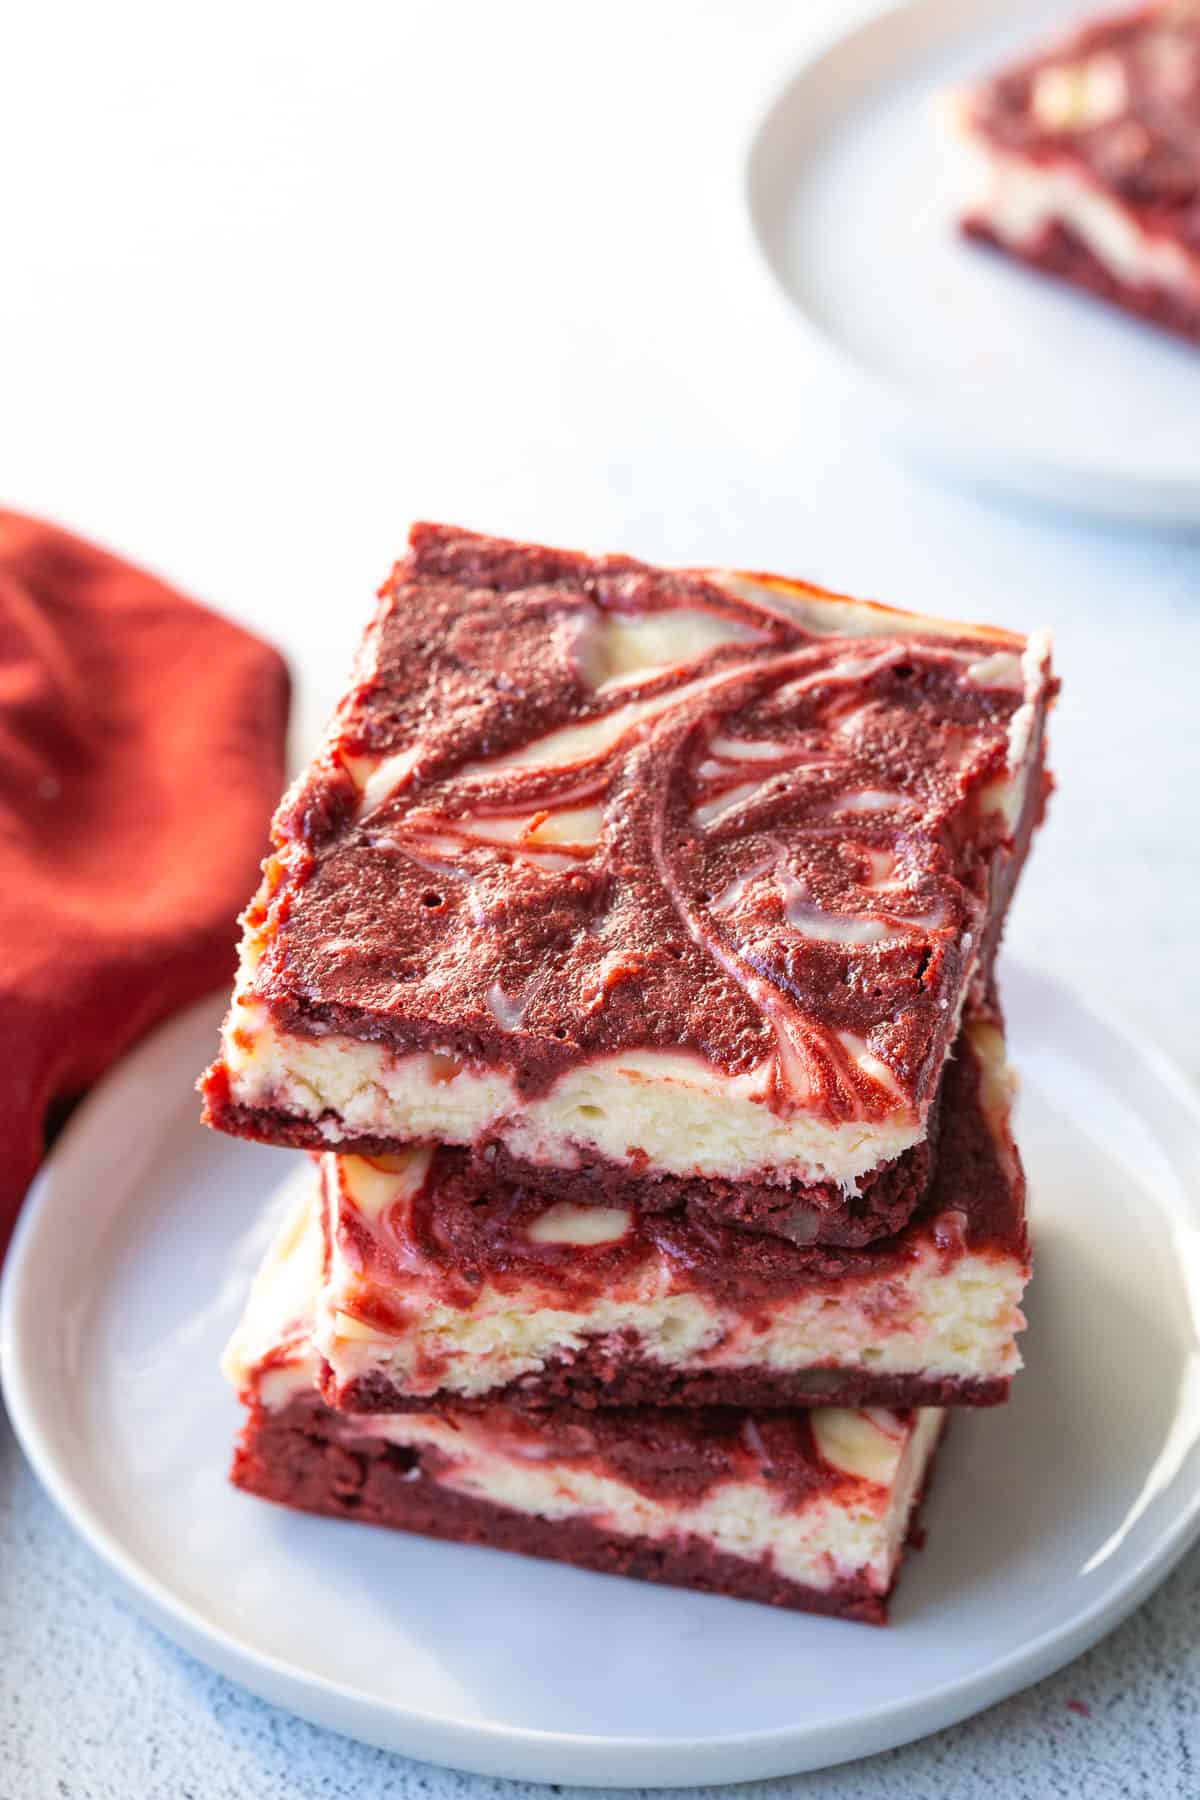
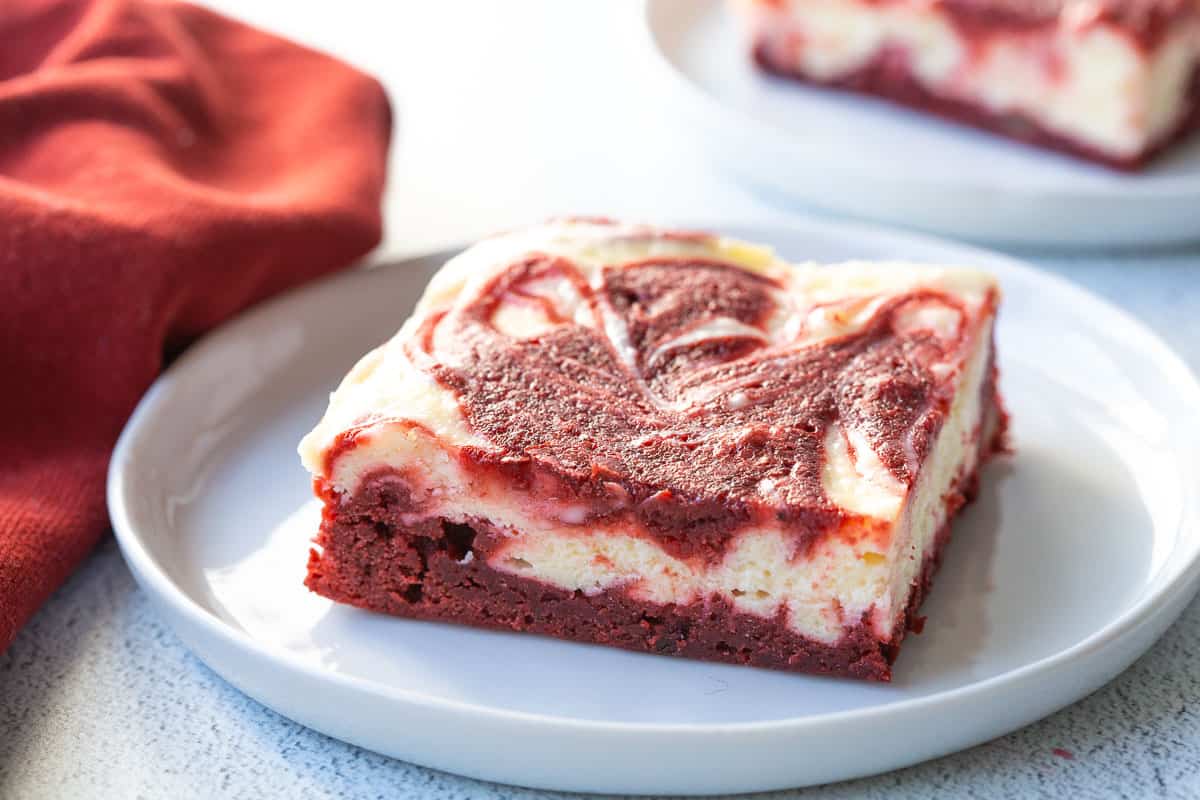
There’s a rich chocolate layer, tinted with red food coloring. We’ll add walnuts to that layer (just like the walnuts on top of red velvet cake), and then add a cheesecake layer that gets swirled in.
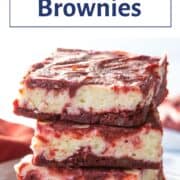
They’re thick, fudgy, and delicious straight from the refrigerator. This dessert is truly red velvet perfection. I think I like them even better than the cake.
I love these for Christmas, Valentine’s Day, or any time you have a craving for red velvet!
Some of the links featured in this post are affiliate links to products I enjoy and recommend, which means I may earn a small commission if you purchase.
Jump to:
Top tips for making red velvet brownies
- Make sure the cream cheese is at room temperature before blending it. This will ensure that the filling stays creamy. Here are 4 methods for softening cream cheese if you need them!
- I used regular red food coloring (McCormick brand) for this recipe. If you use gel food coloring, you may need less.
- I like using a skewer to create the swirl. You can also use a butter knife.
- To create the prettiest slices, refrigerate the brownies before cutting.
Ingredients
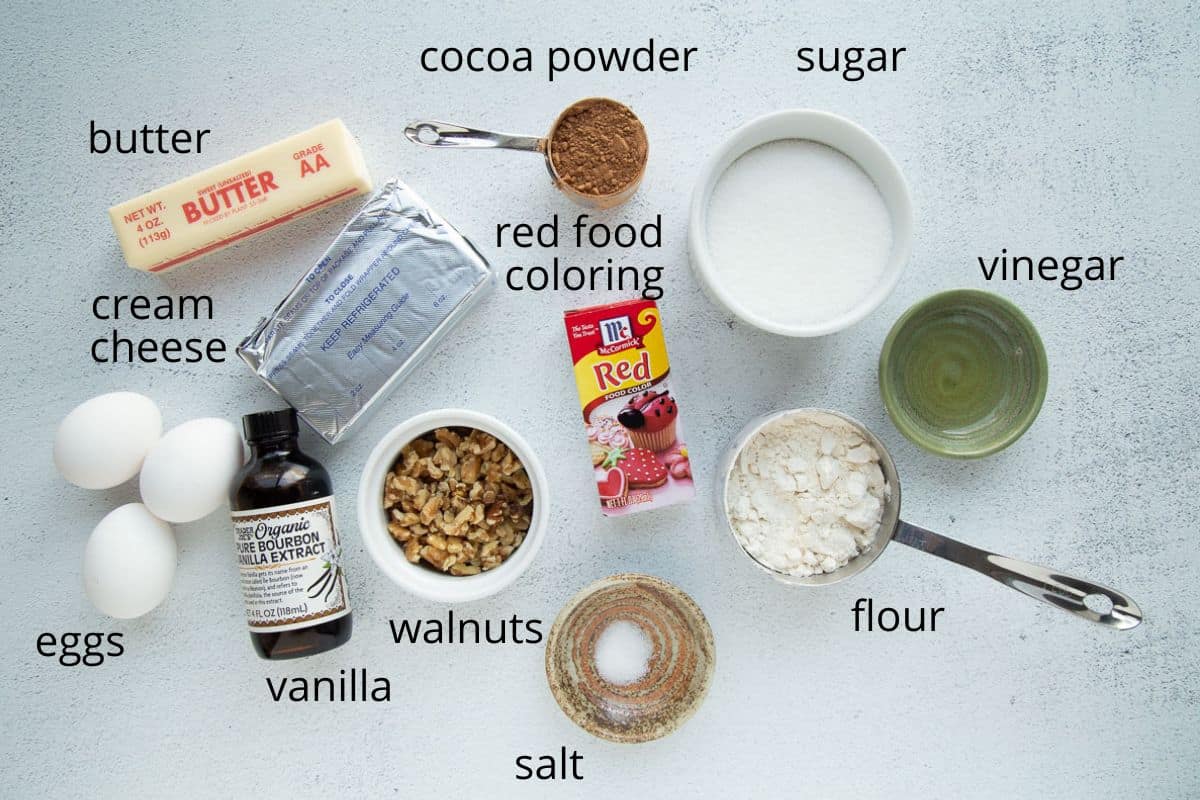
- The brownie layer is made up of typical ingredients: butter, sugar, cocoa powder, flour, eggs, salt, and vanilla.
- The vinegar is classic in red velvet cake recipes. For this recipe, it adds a little tanginess to offset the richness of the brownies.
- We’ll need one teaspoon of red food coloring to create the gorgeous red hue.
- Walnuts add crunch to the brownie layer.
- The cheesecake layer is made of cream cheese, egg, vanilla, and sugar.
How to make red velvet brownies
Start by placing the melted butter in a large bowl. Whisk in 1 cup of sugar, vanilla, cocoa powder, salt, food coloring, vinegar, and 2 eggs.
I used regular red food coloring (McCormick brand, from Target) here. If you use gel food coloring, you may need less.
Fold in the flour and walnuts.
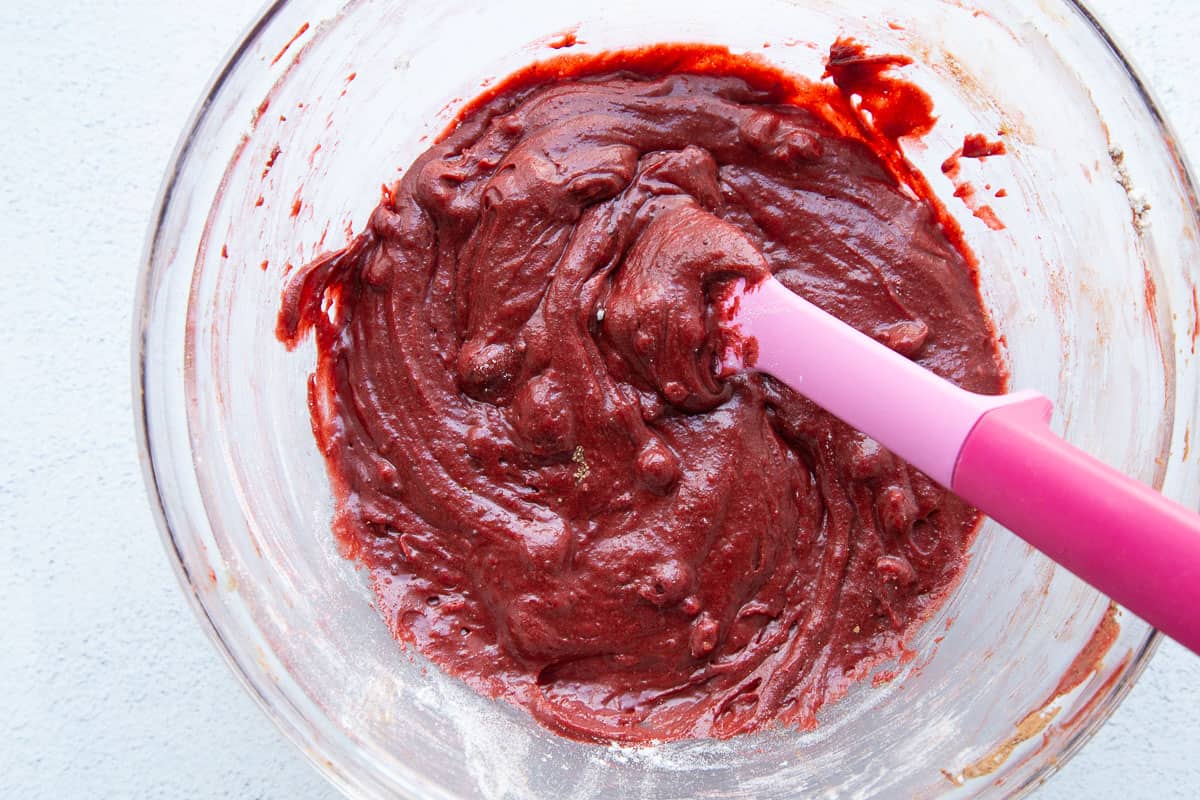
Reserve ⅓ cup of the mixture, and then pour the rest into a greased 8×8 inch pan. You can also line the pan with parchment paper instead of greasing it.
Then, combine the softened cream cheese, one egg, vanilla, and sugar. Beat with a hand mixer until smooth.

Carefully spread the cream cheese mixture on top of the brownie batter. I like using an offset spatula for this.
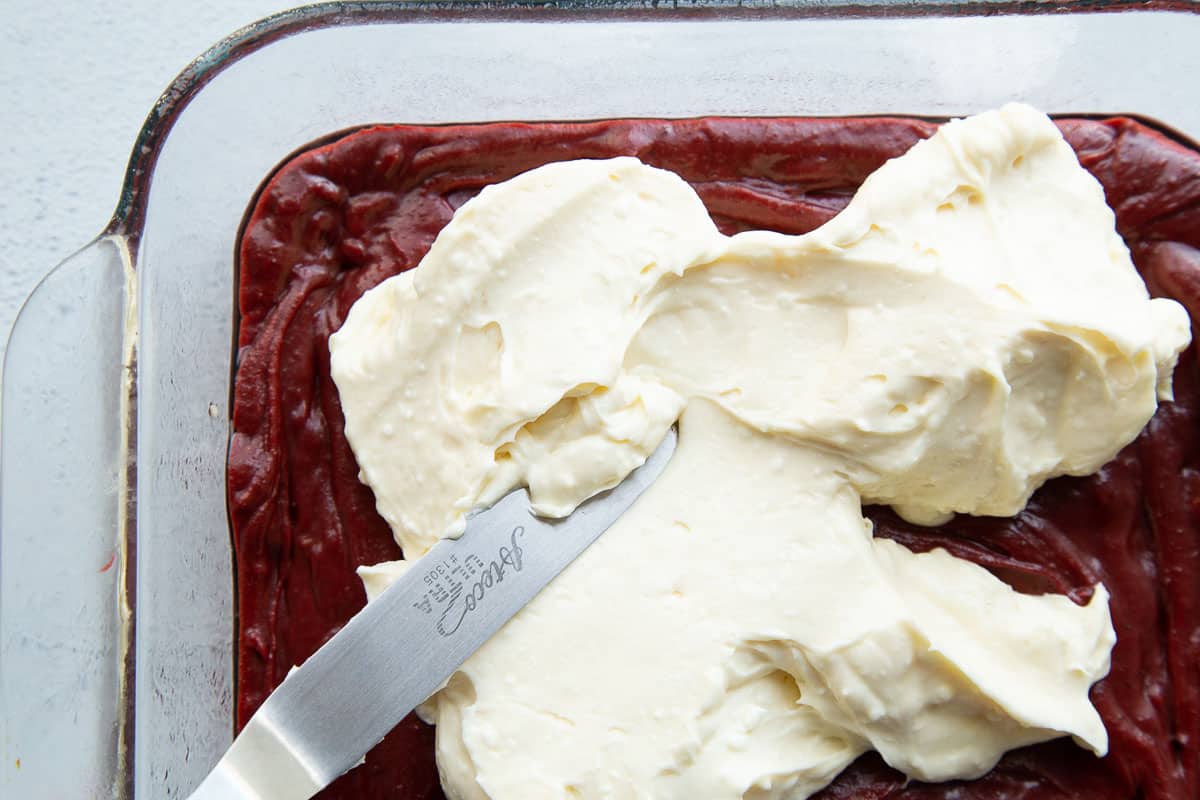
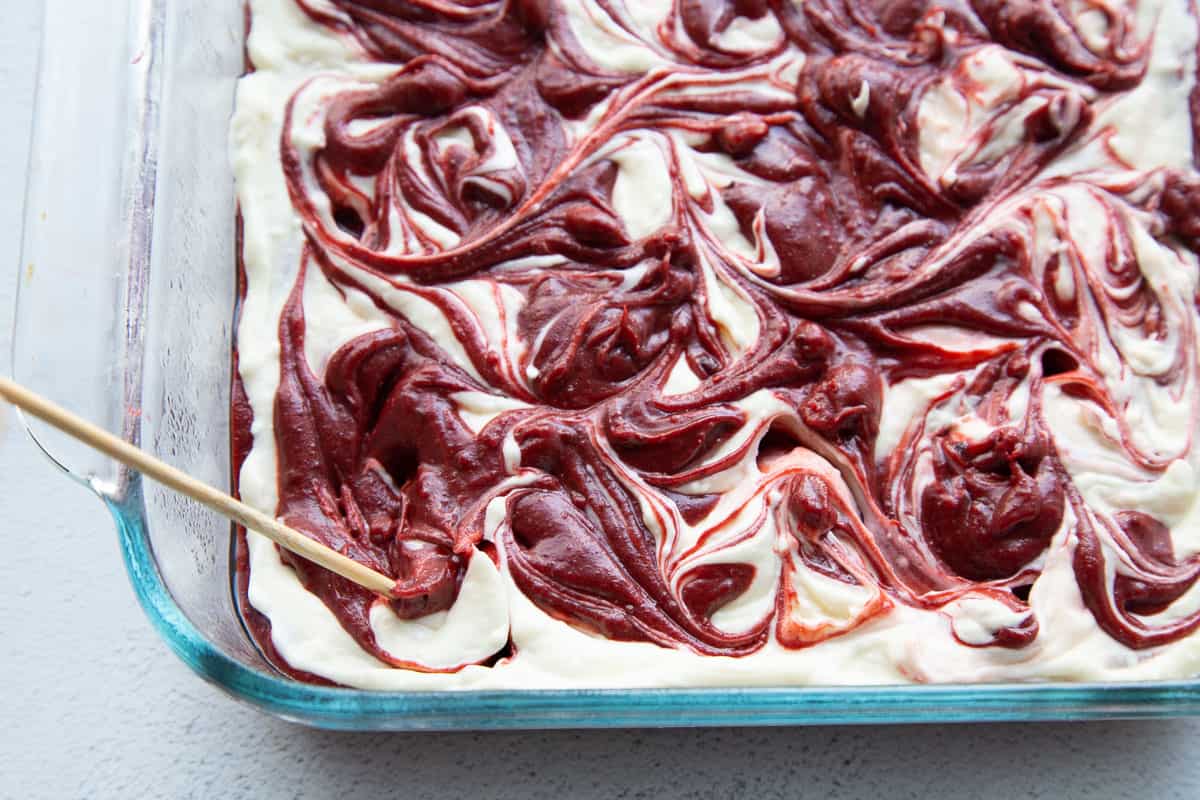
Dollop the reserved brownie batter on top. Use a skewer or a butter knife to swirl the two mixtures together.
Bake the red velvet brownies for 25–28 minutes, or until a toothpick comes out with just a few crumbs.
Let the brownies cool completely.
Tips for cutting red velvet brownies
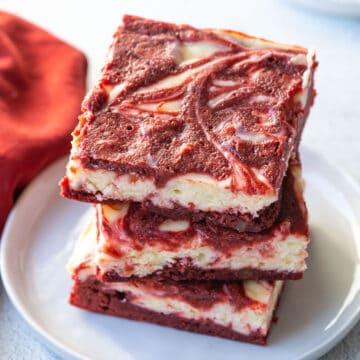
You will get the cleanest cuts by refrigerating the brownies before slicing them.
Let the brownies cool completely and refrigerate for at least two hours. Then, use a sharp knife to cut the brownies, cleaning the knife off with a paper towel in between cuts.
Storage and freezing
Red Velvet Brownies should be stored in the refrigerator. I think they’re the most delicious when cold, but you can let them come to room temperature before serving if you’d prefer.
You can also freeze Red Velvet Brownies in an airtight container for up to 3 months. Let them defrost either in the refrigerator or at room temperature.
Frequently Asked Questions
You can definitely use gel food coloring instead of traditional food coloring. Start with 2–3 drops and add more as needed.
I like using a wooden skewer for creating the prettiest swirls. Drop small spoonfuls of the red velvet batter, then drag the skewer through that, using a gentle circular motion as you go. Repeat with the remaining spoonfuls.
The toothpick test works well for brownies. Unlike cake, you don’t want the toothpick to come out completely clean. Instead, insert a toothpick into the center of the brownies. It should have moist crumbs attached. If the center is still very gooey, bake the brownies for a few more minutes.
More bar cookies
I love a good brownie/bar cookie! Here are a few favorites:
- No-Bake Special K Bars (a.k.a. Scotcheroos)
- Toll House Cookie Bars
- Grandma’s Chewy Coconut Bars
- 7 Layer Bars (a.k.a. Hello Dolly Bars)
Have you tried this recipe? Please leave a ⭐️⭐️⭐️⭐️⭐️ rating and/or comment below!
📖 Recipe
Red Velvet Brownies with Cream Cheese Swirl
Ingredients
- ½ cup (1 stick) butter, melted
- 1¼ cup sugar, divided
- 1 teaspoon vanilla
- ¼ cup cocoa powder
- ¼ teaspoon salt
- 1 teaspoon red food coloring
- 1 teaspoon vinegar
- 3 eggs, divided
- ¾ cup flour
- ½ cup walnuts, finely chopped
- 8 oz cream cheese, softened
Want to save this recipe?
Instructions
- Preheat oven to 350°F. Spray an 8×8 inch baking dish with cooking spray, or line with parchment paper.
- Place the melted butter, 1 cup of sugar, vanilla, cocoa powder, salt, food coloring, vinegar, and 2 eggs in a large bowl. Whisk until combined. Stir in the flour and walnuts just until combined.
- Reserve ⅓ cup of the brownie batter for the top. Pour the remaining batter into the prepared pan.
- In another bowl, stir together the softened cream cheese, remaining ¼ cup sugar, and remaining egg. Carefully spread the mixture over the brownie batter in the pan.
- Dollop the reserve ⅓ cup of batter over the top in small spoonfuls. Drag a skewer or knife through the batter to create a swirl pattern.
- Bake for 25–30 minutes, or until a toothpick comes out clean. Allow to cool completely, slice, and serve.

Comments
No Comments